01
Profile — landseer100
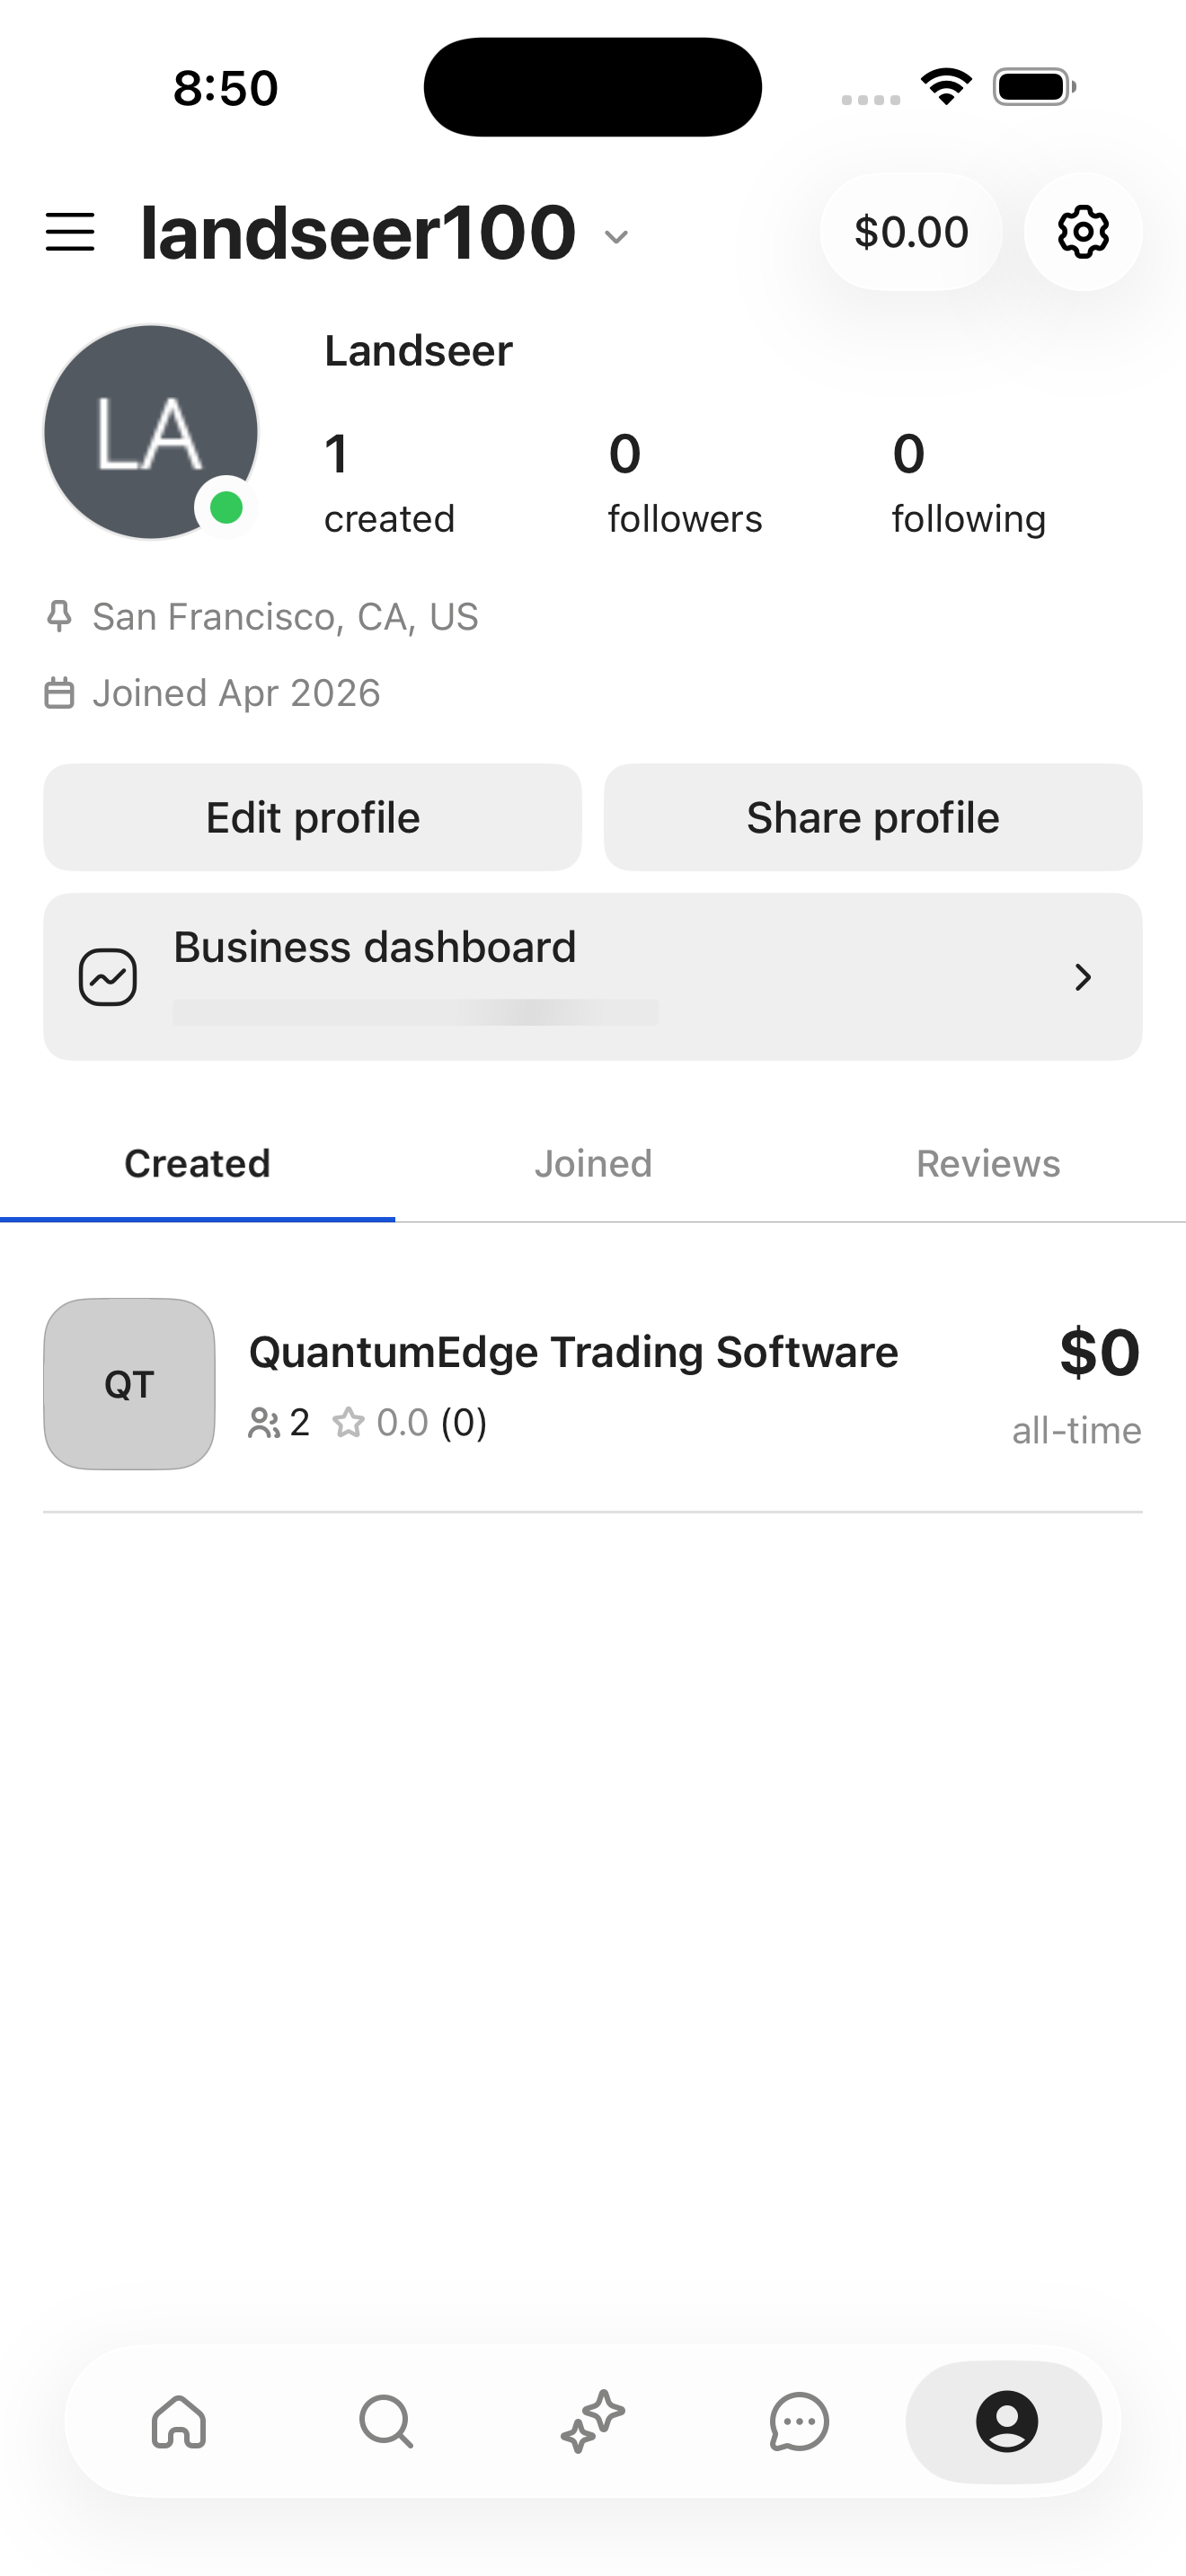
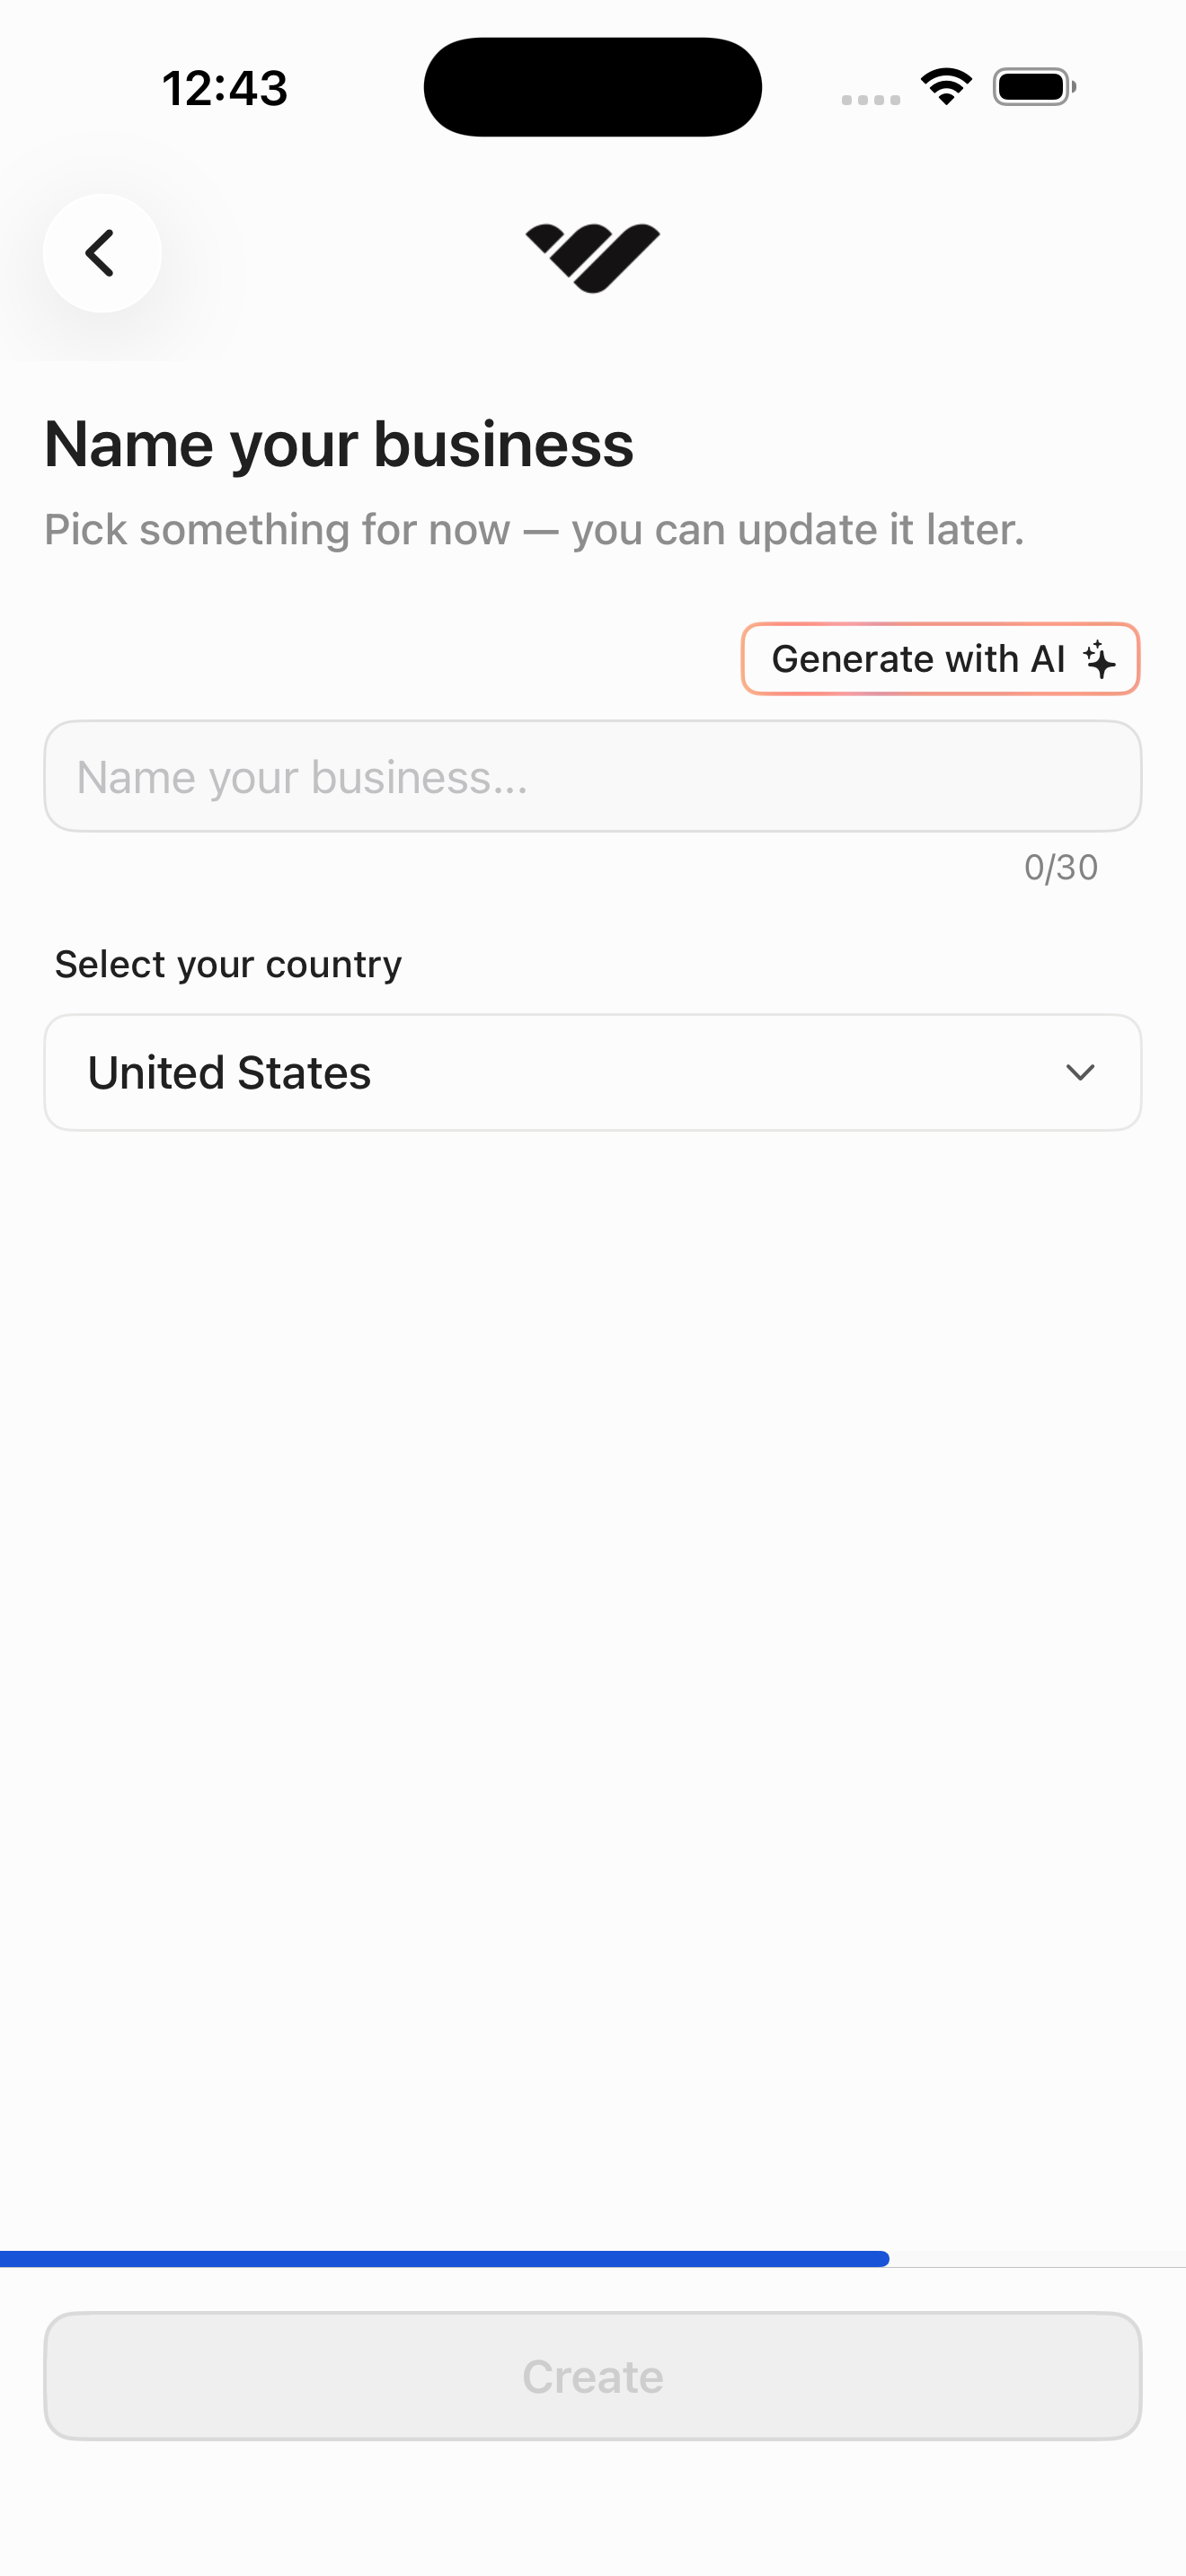
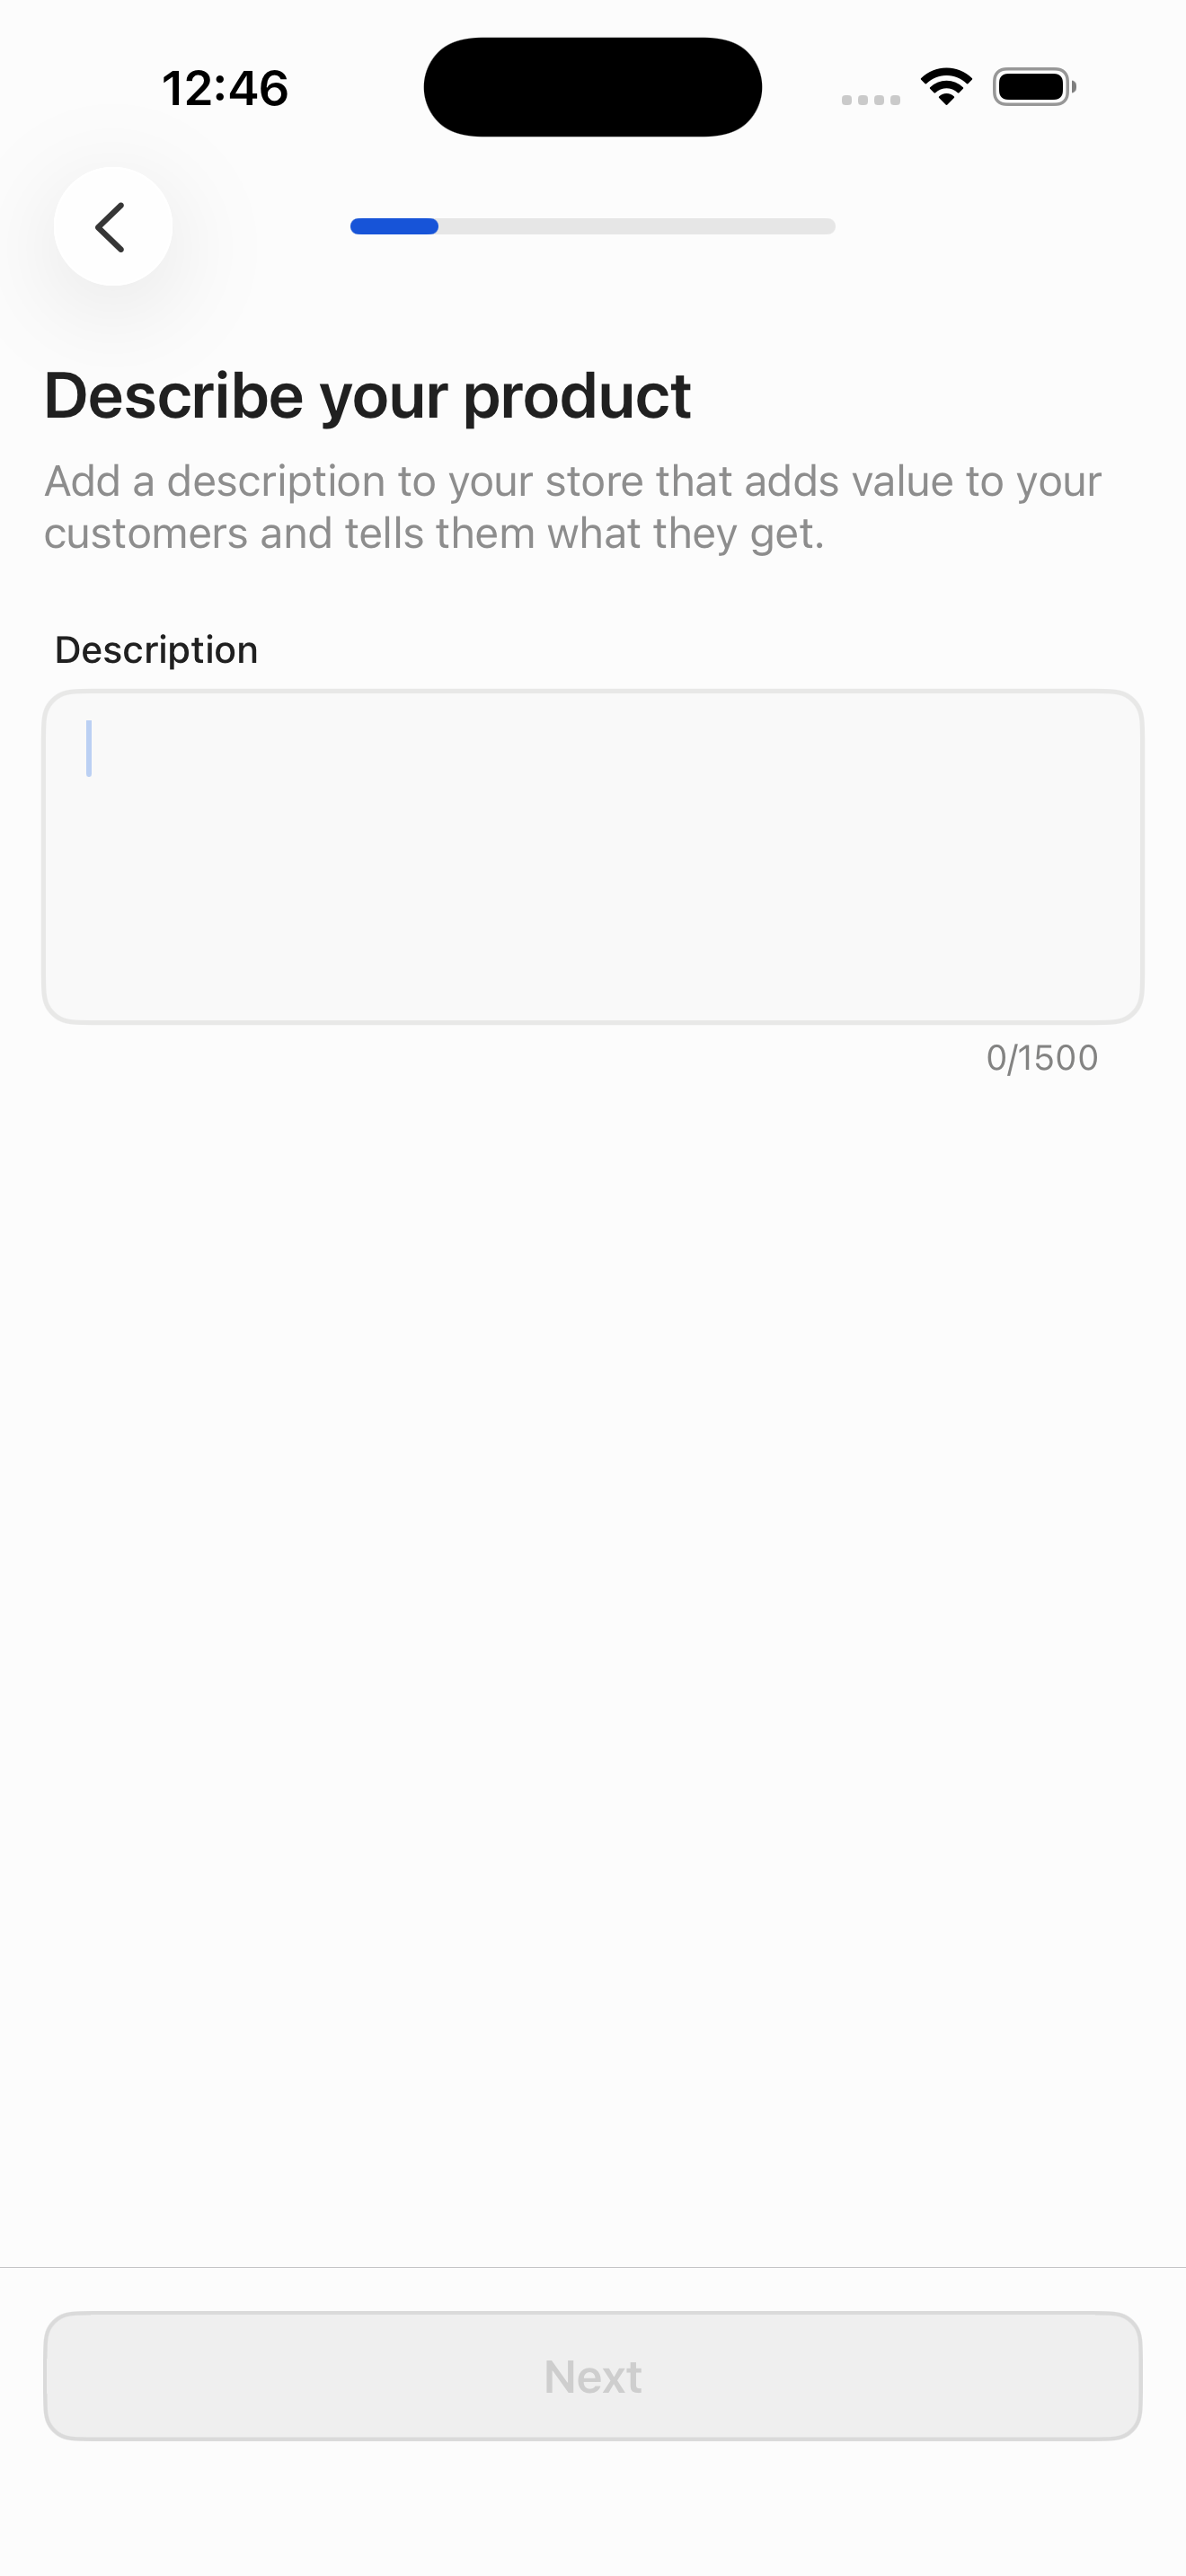
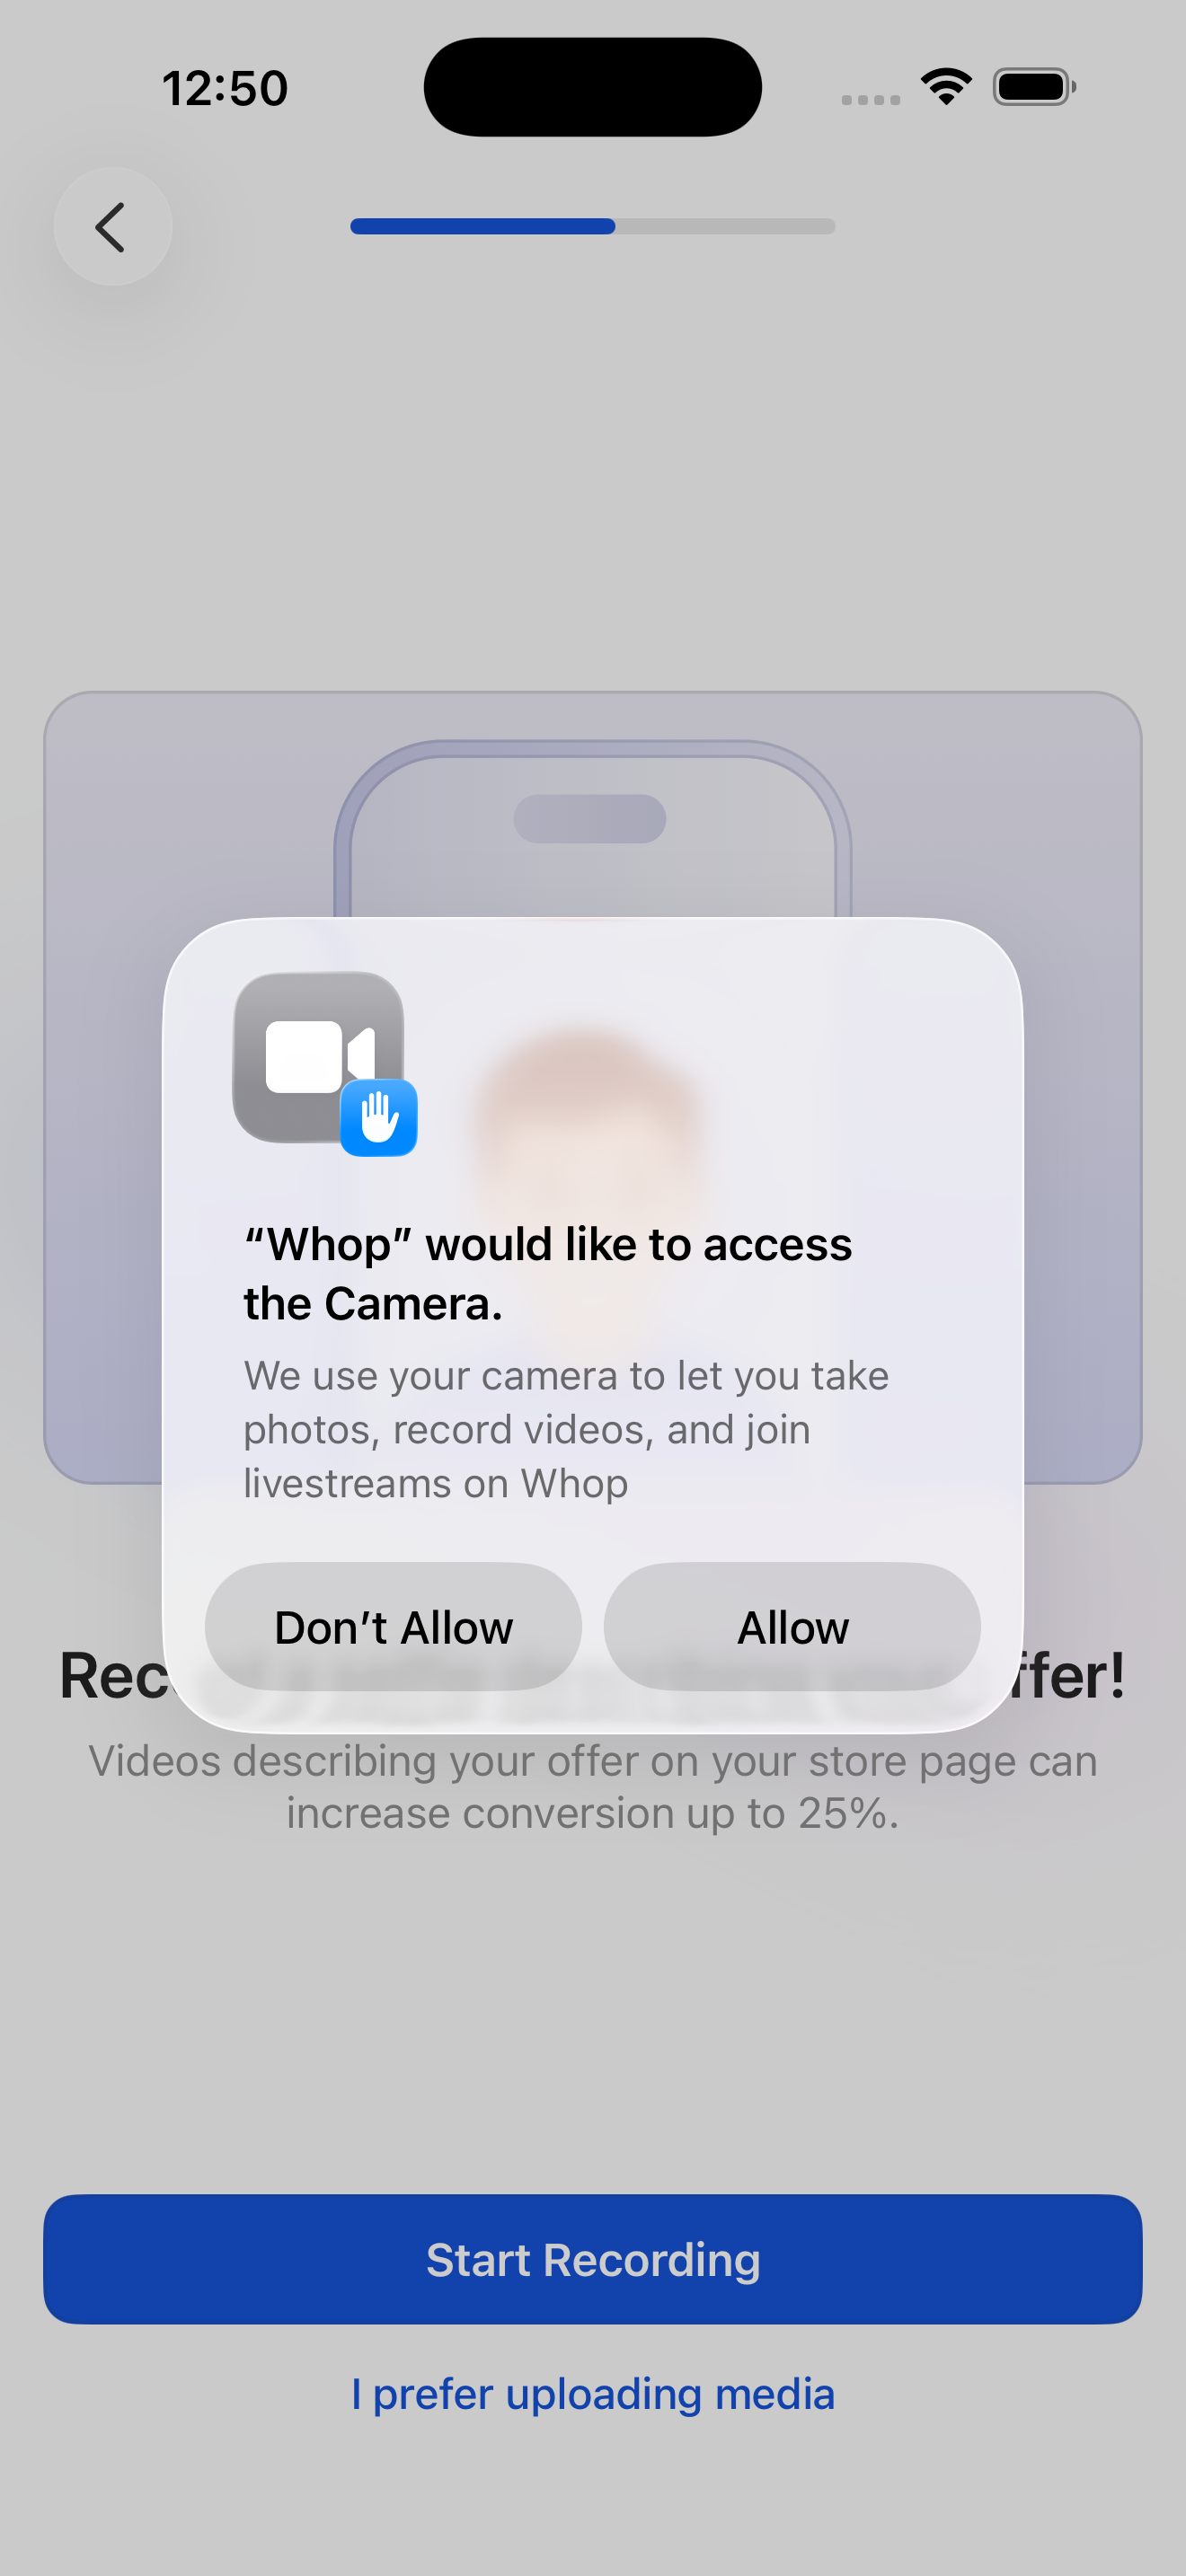
Step 1 in the Whop Create a whop and its first product flow. Atlas detected 15 UI elements on this screen.
Revyl Atlas flow
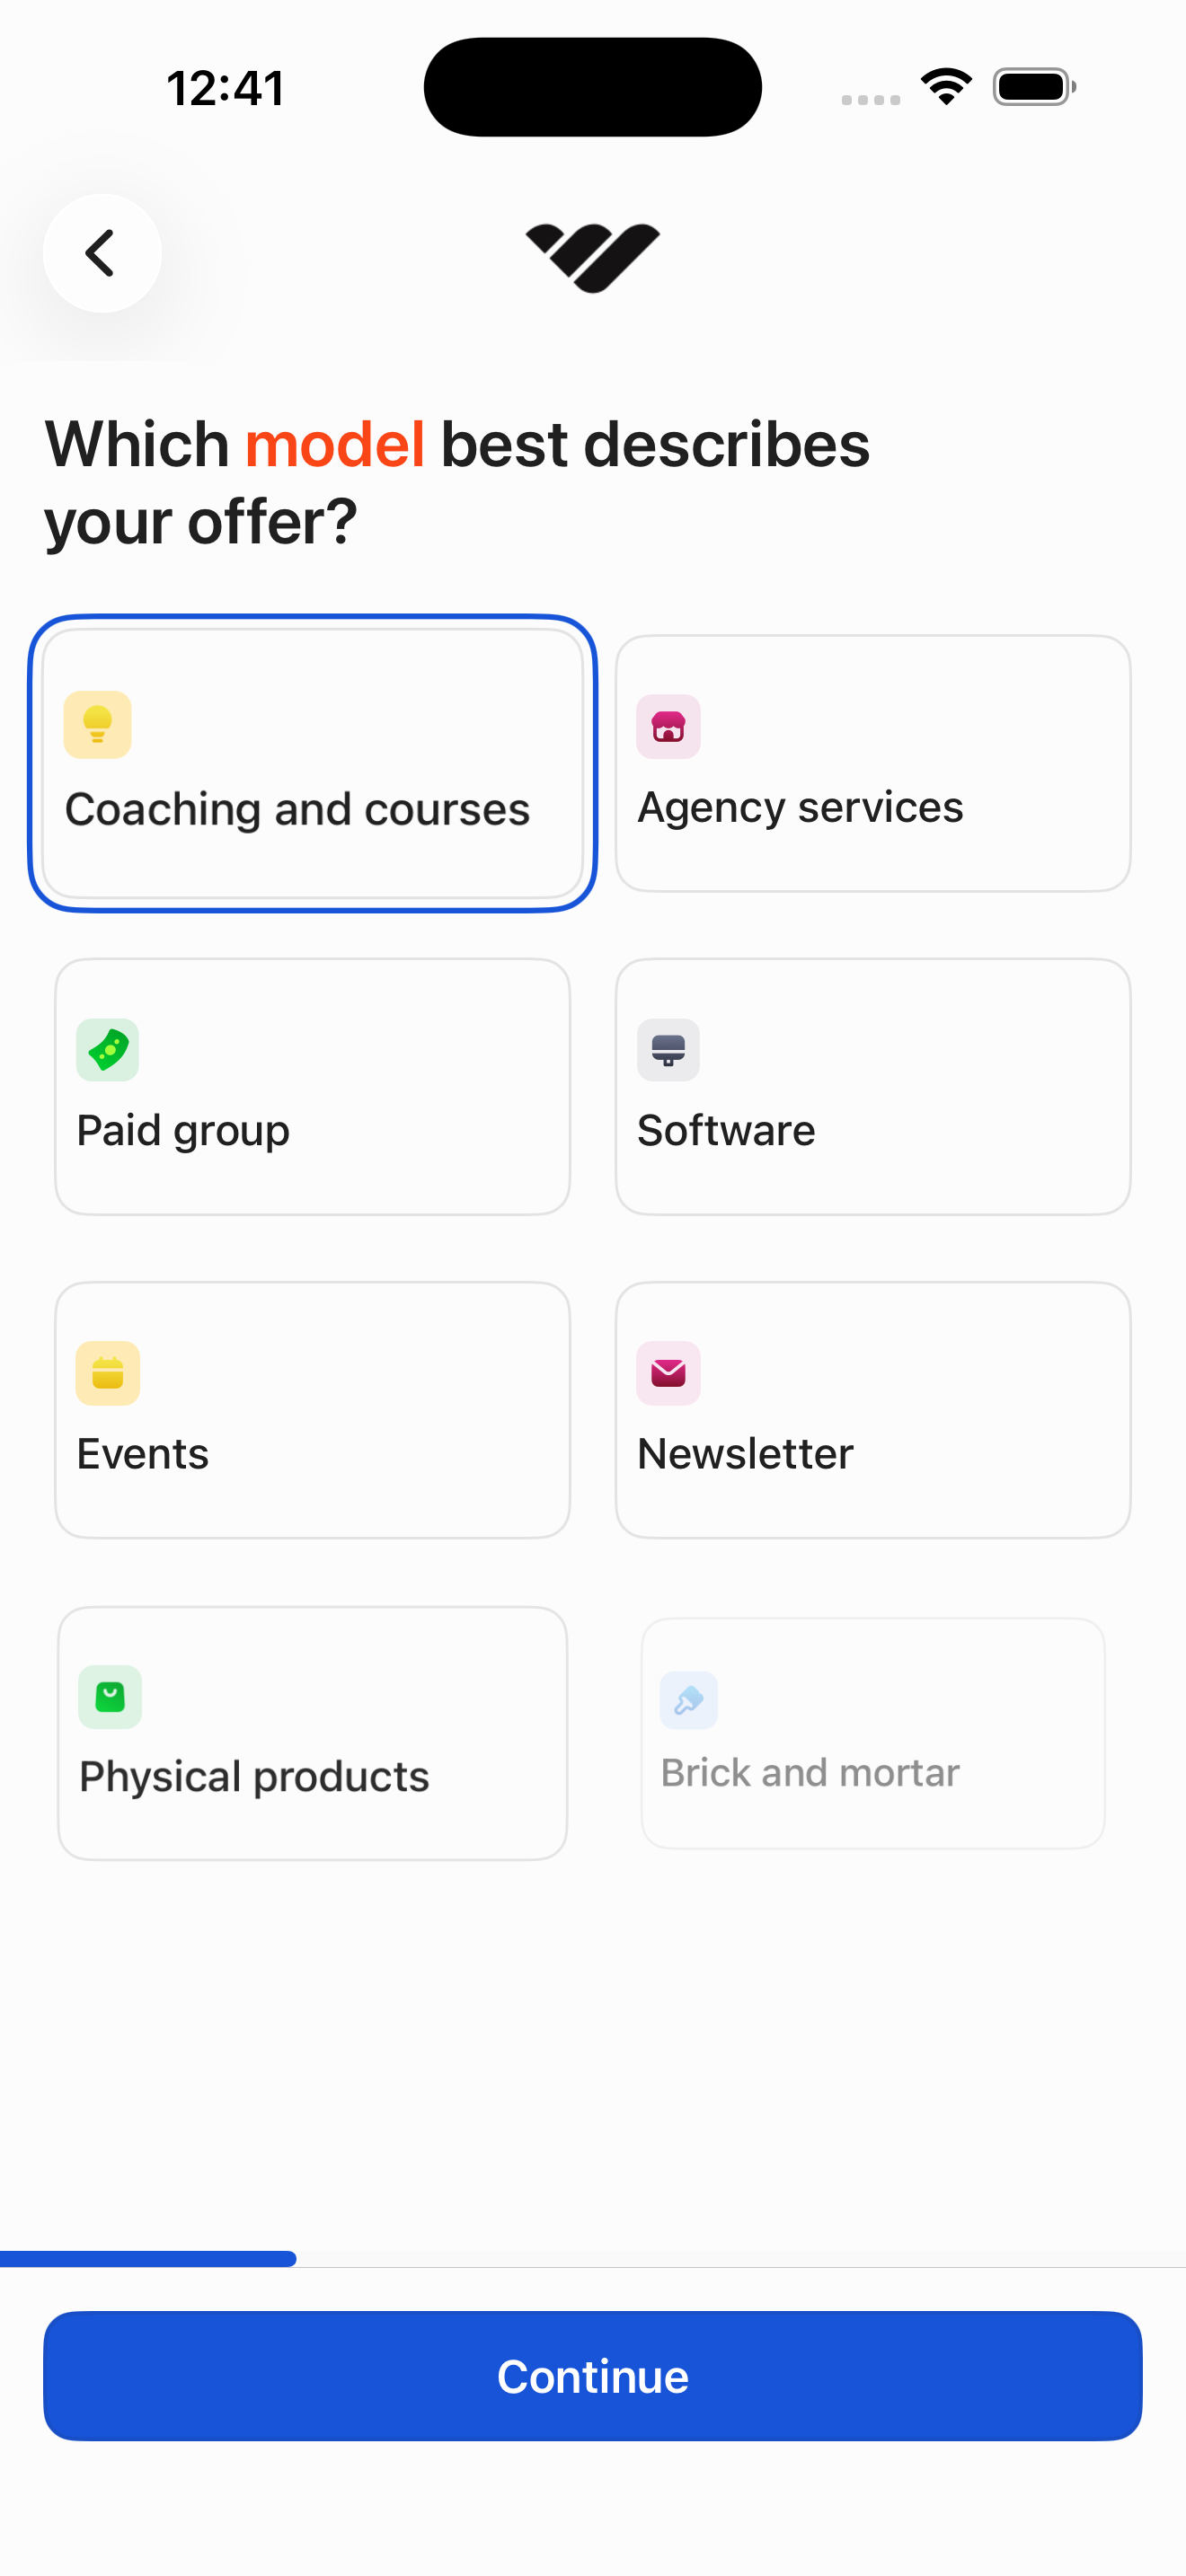
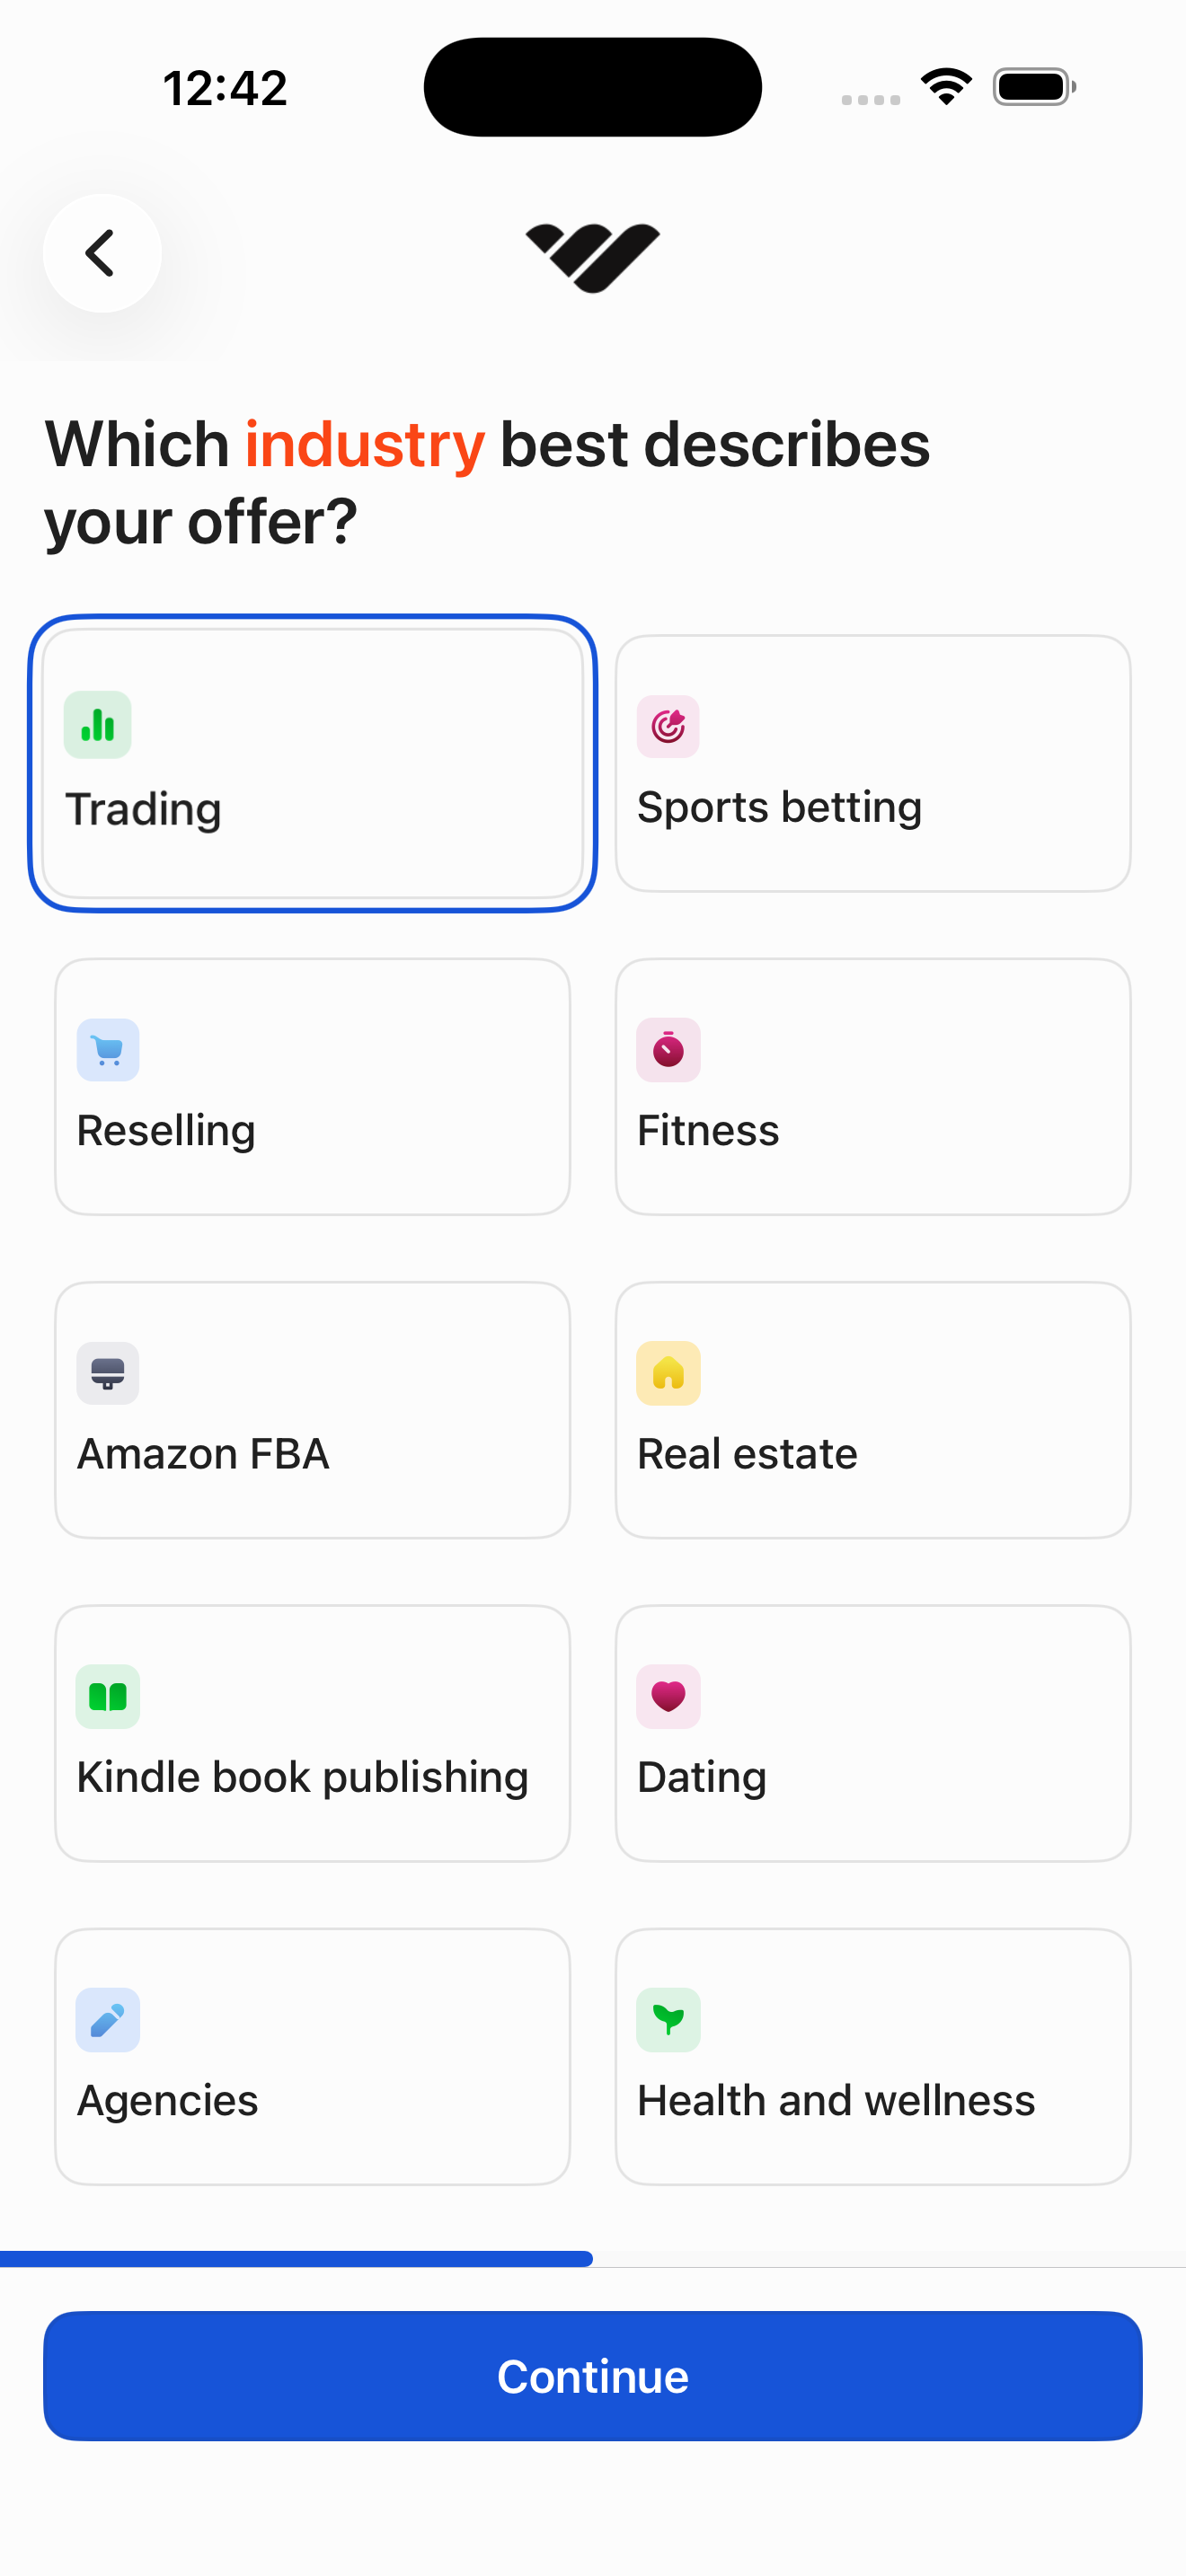
From Business dashboard, walk the full funnel: pick model and industry, name the business, then title / headline / description / category / pricing / apps / media / logo / visibility / preview for the first product. Finish lands on the new whop with a share sheet.
Research notes
Screen path
This page is a crawlable breakdown of one real mobile journey. The screenshots, step labels, and element counts make the Whop Create a whop and its first product path easier to compare against competing apps, reproduce during QA planning, and reuse as structured navigation context for app automation.
Step 1 in the Whop Create a whop and its first product flow. Atlas detected 15 UI elements on this screen.
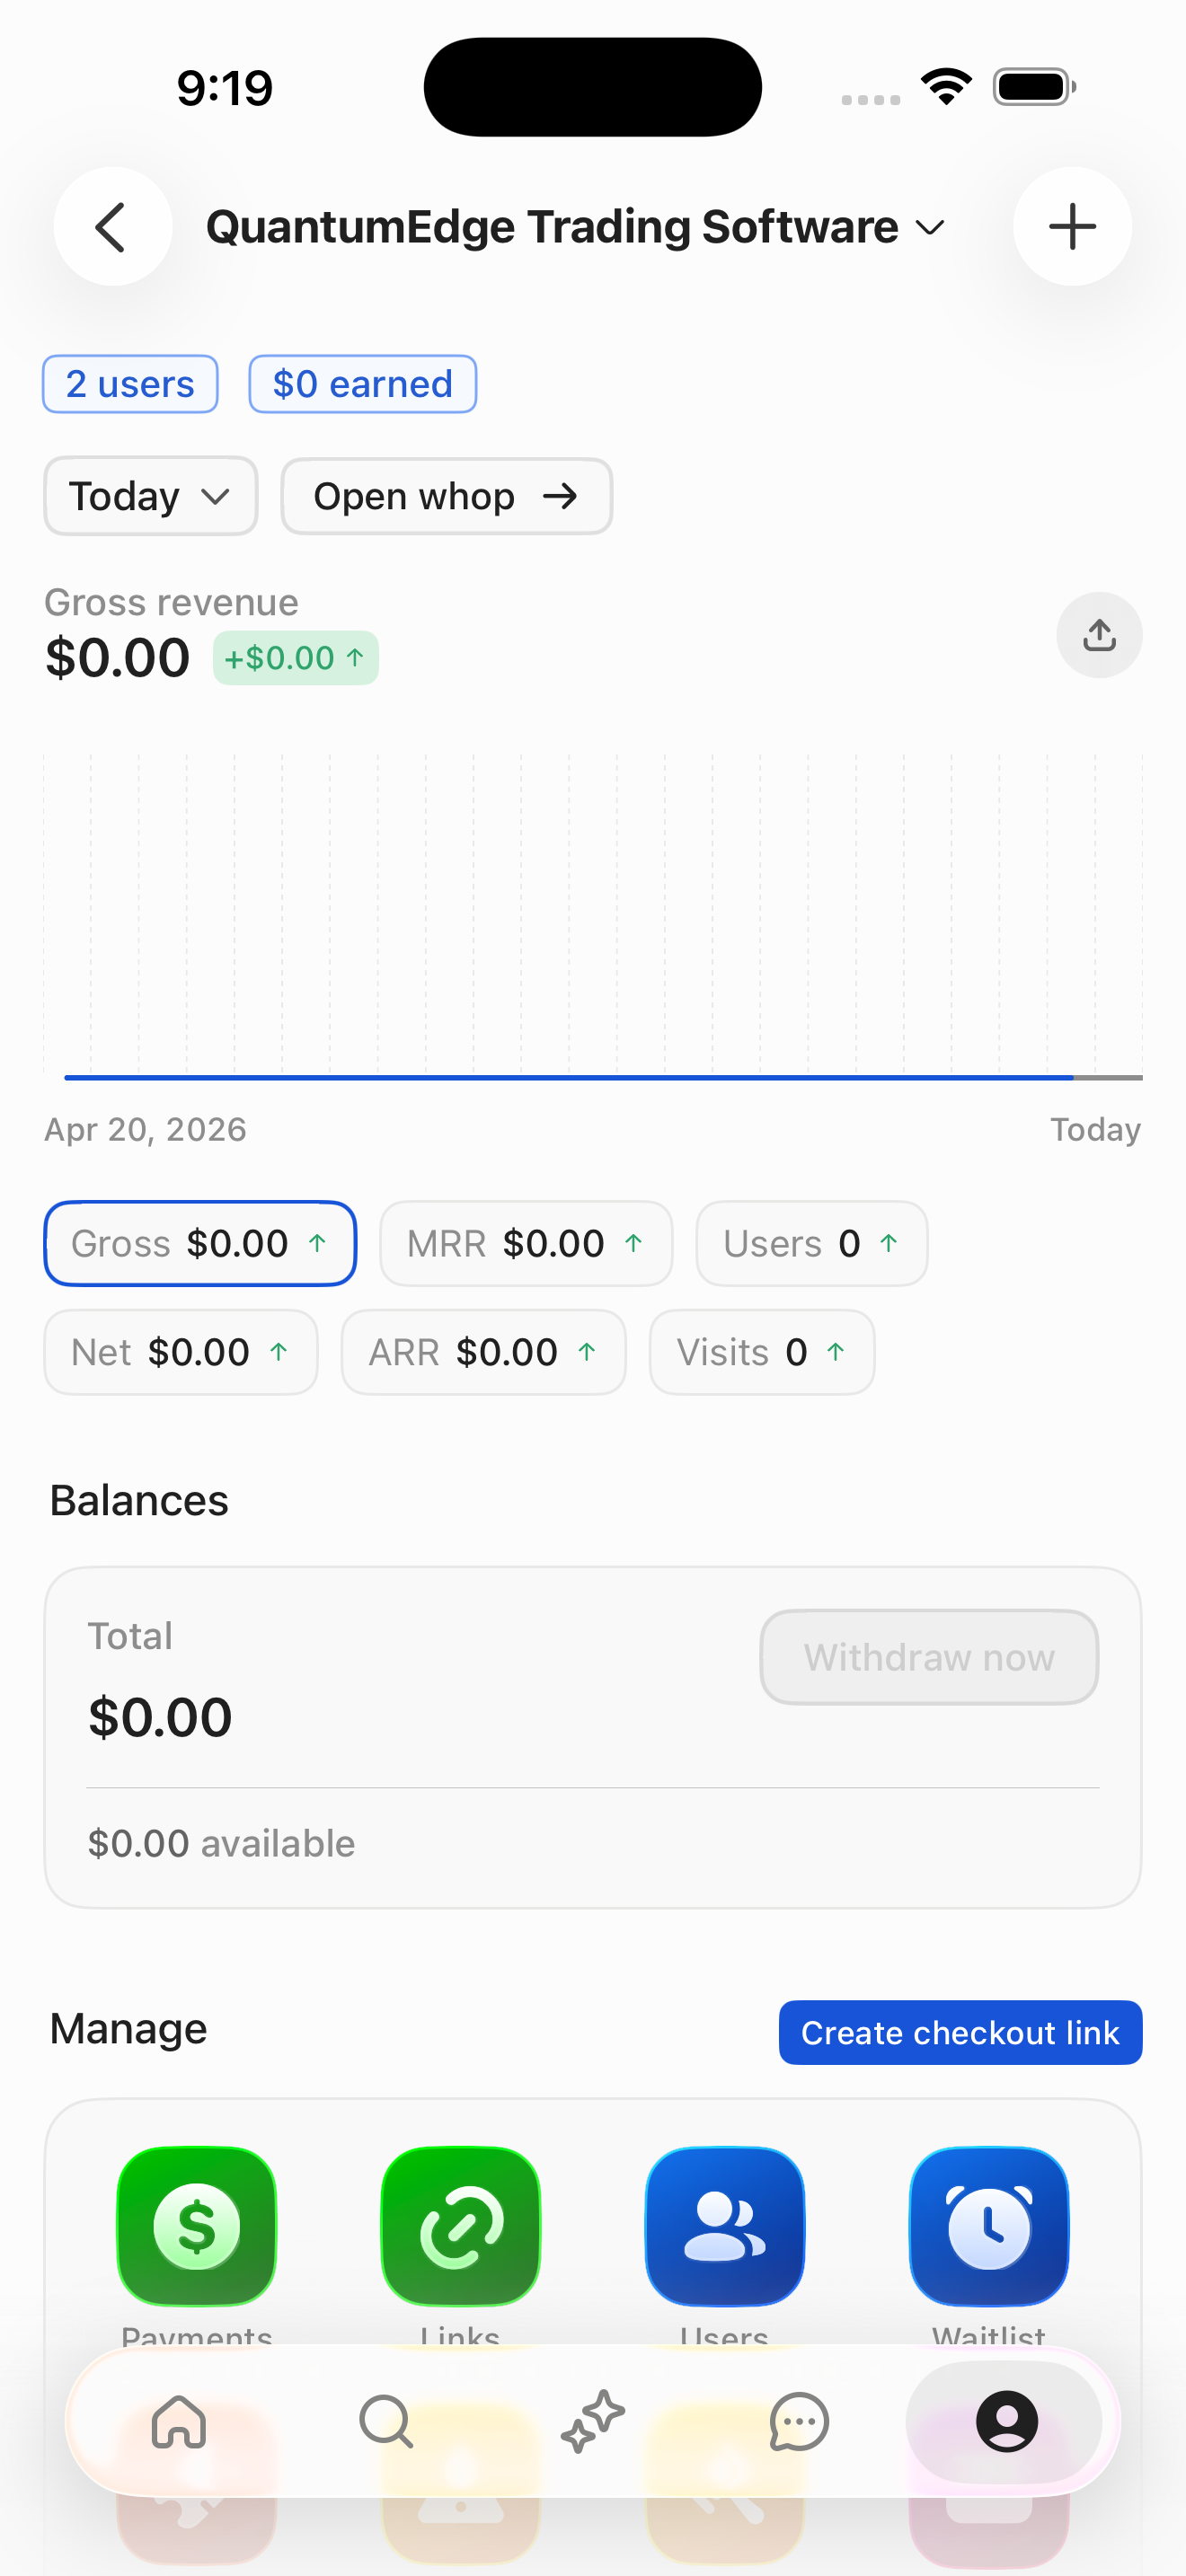
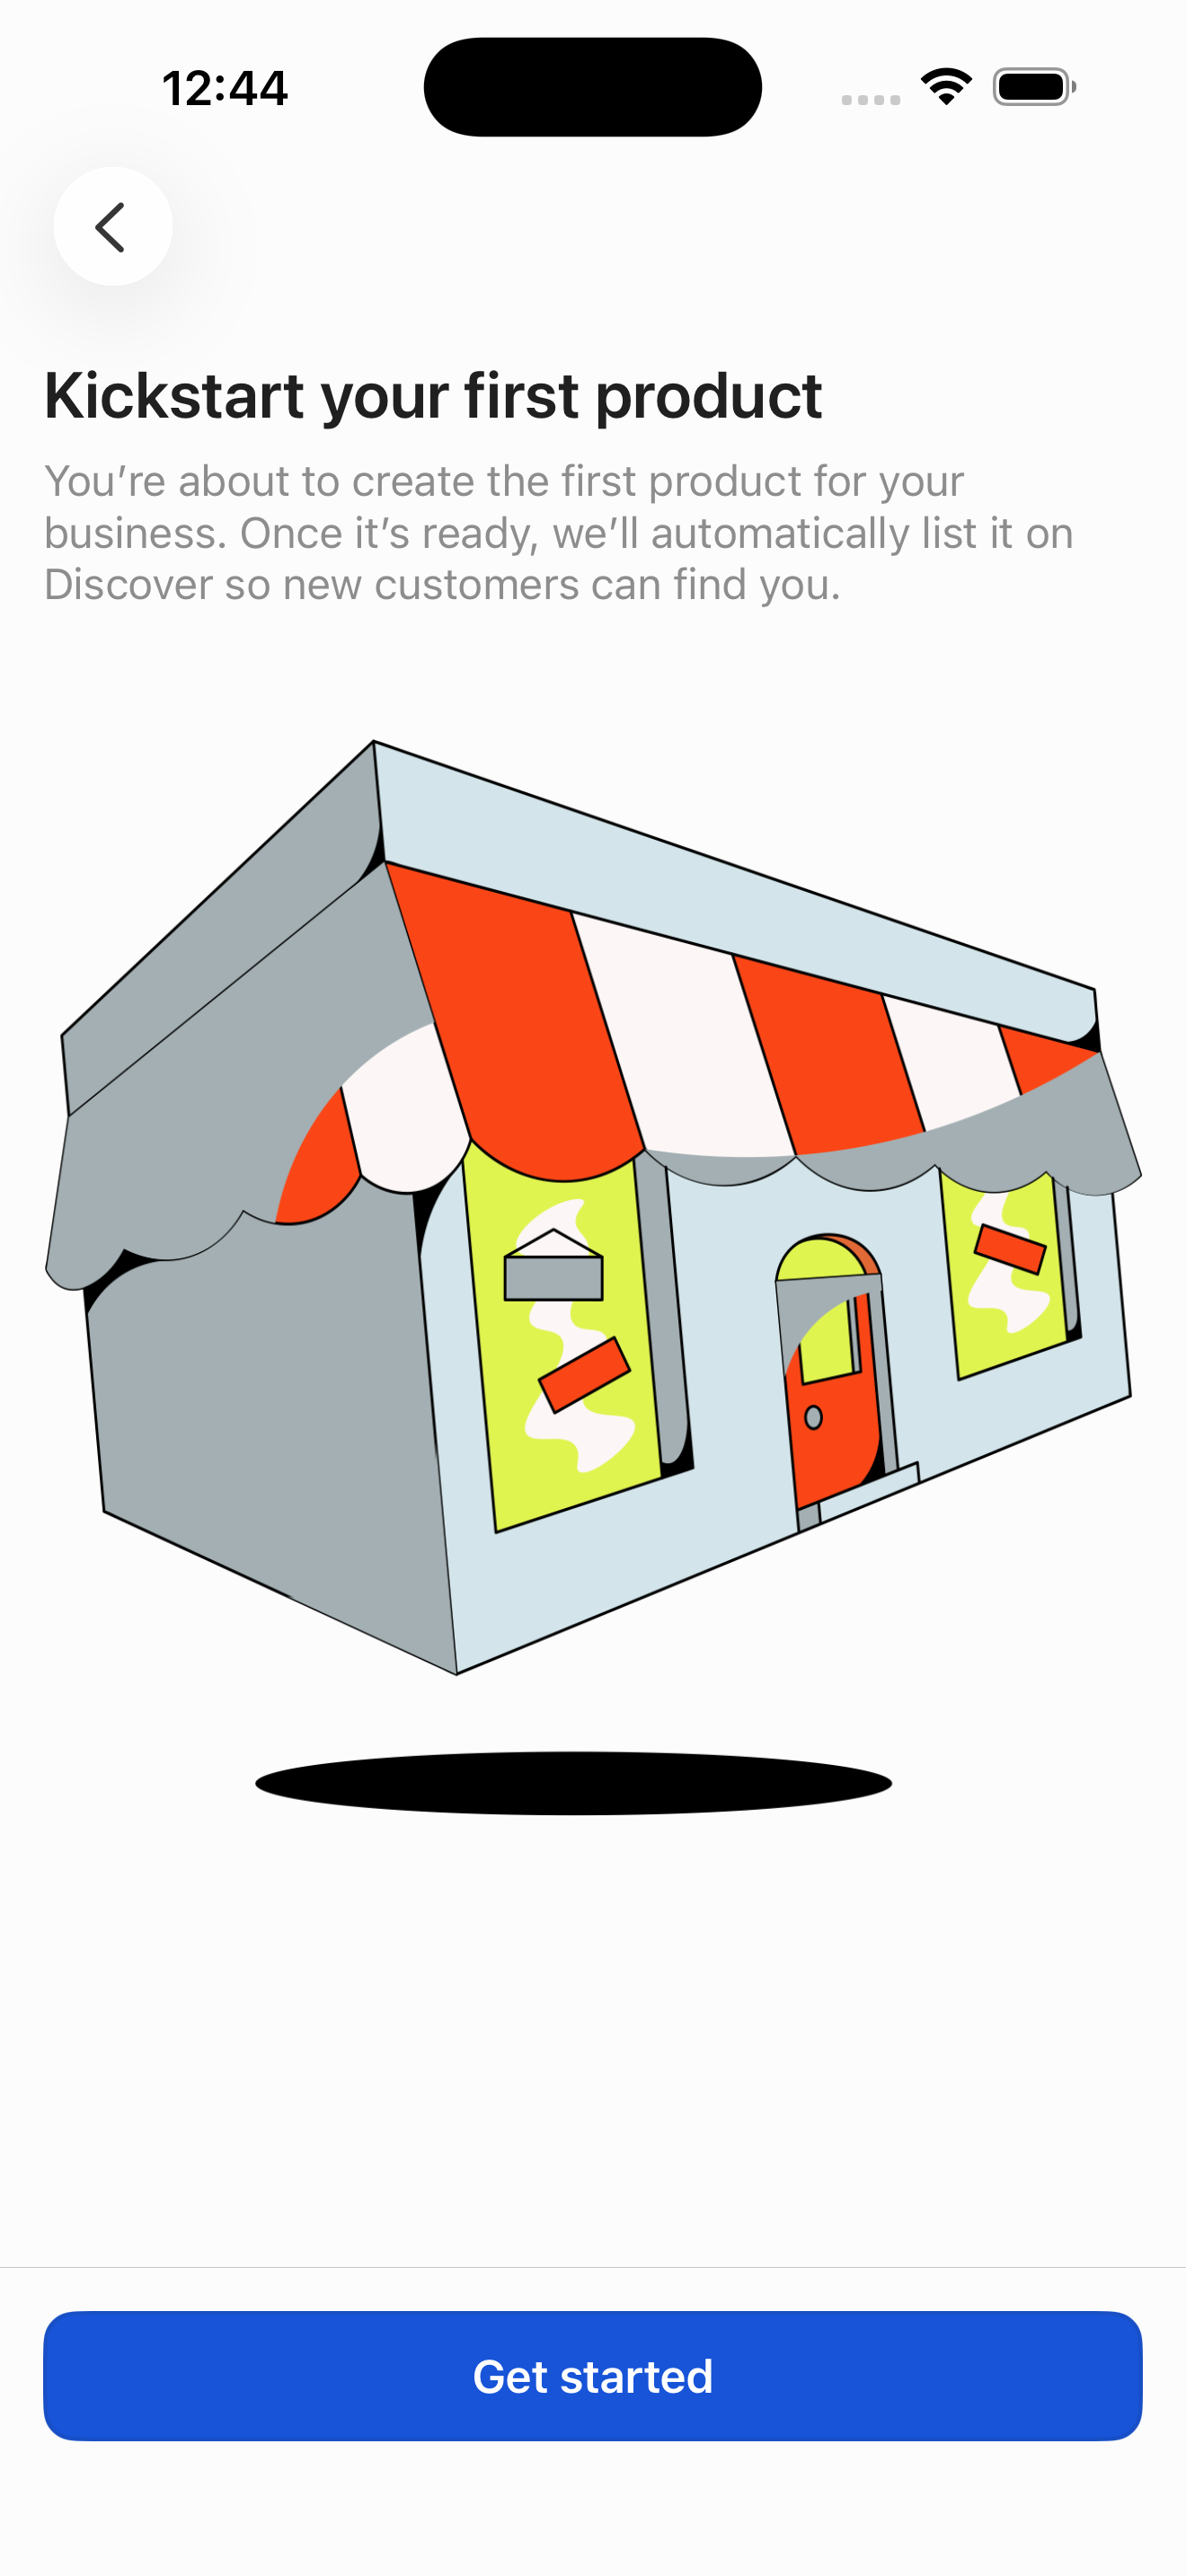
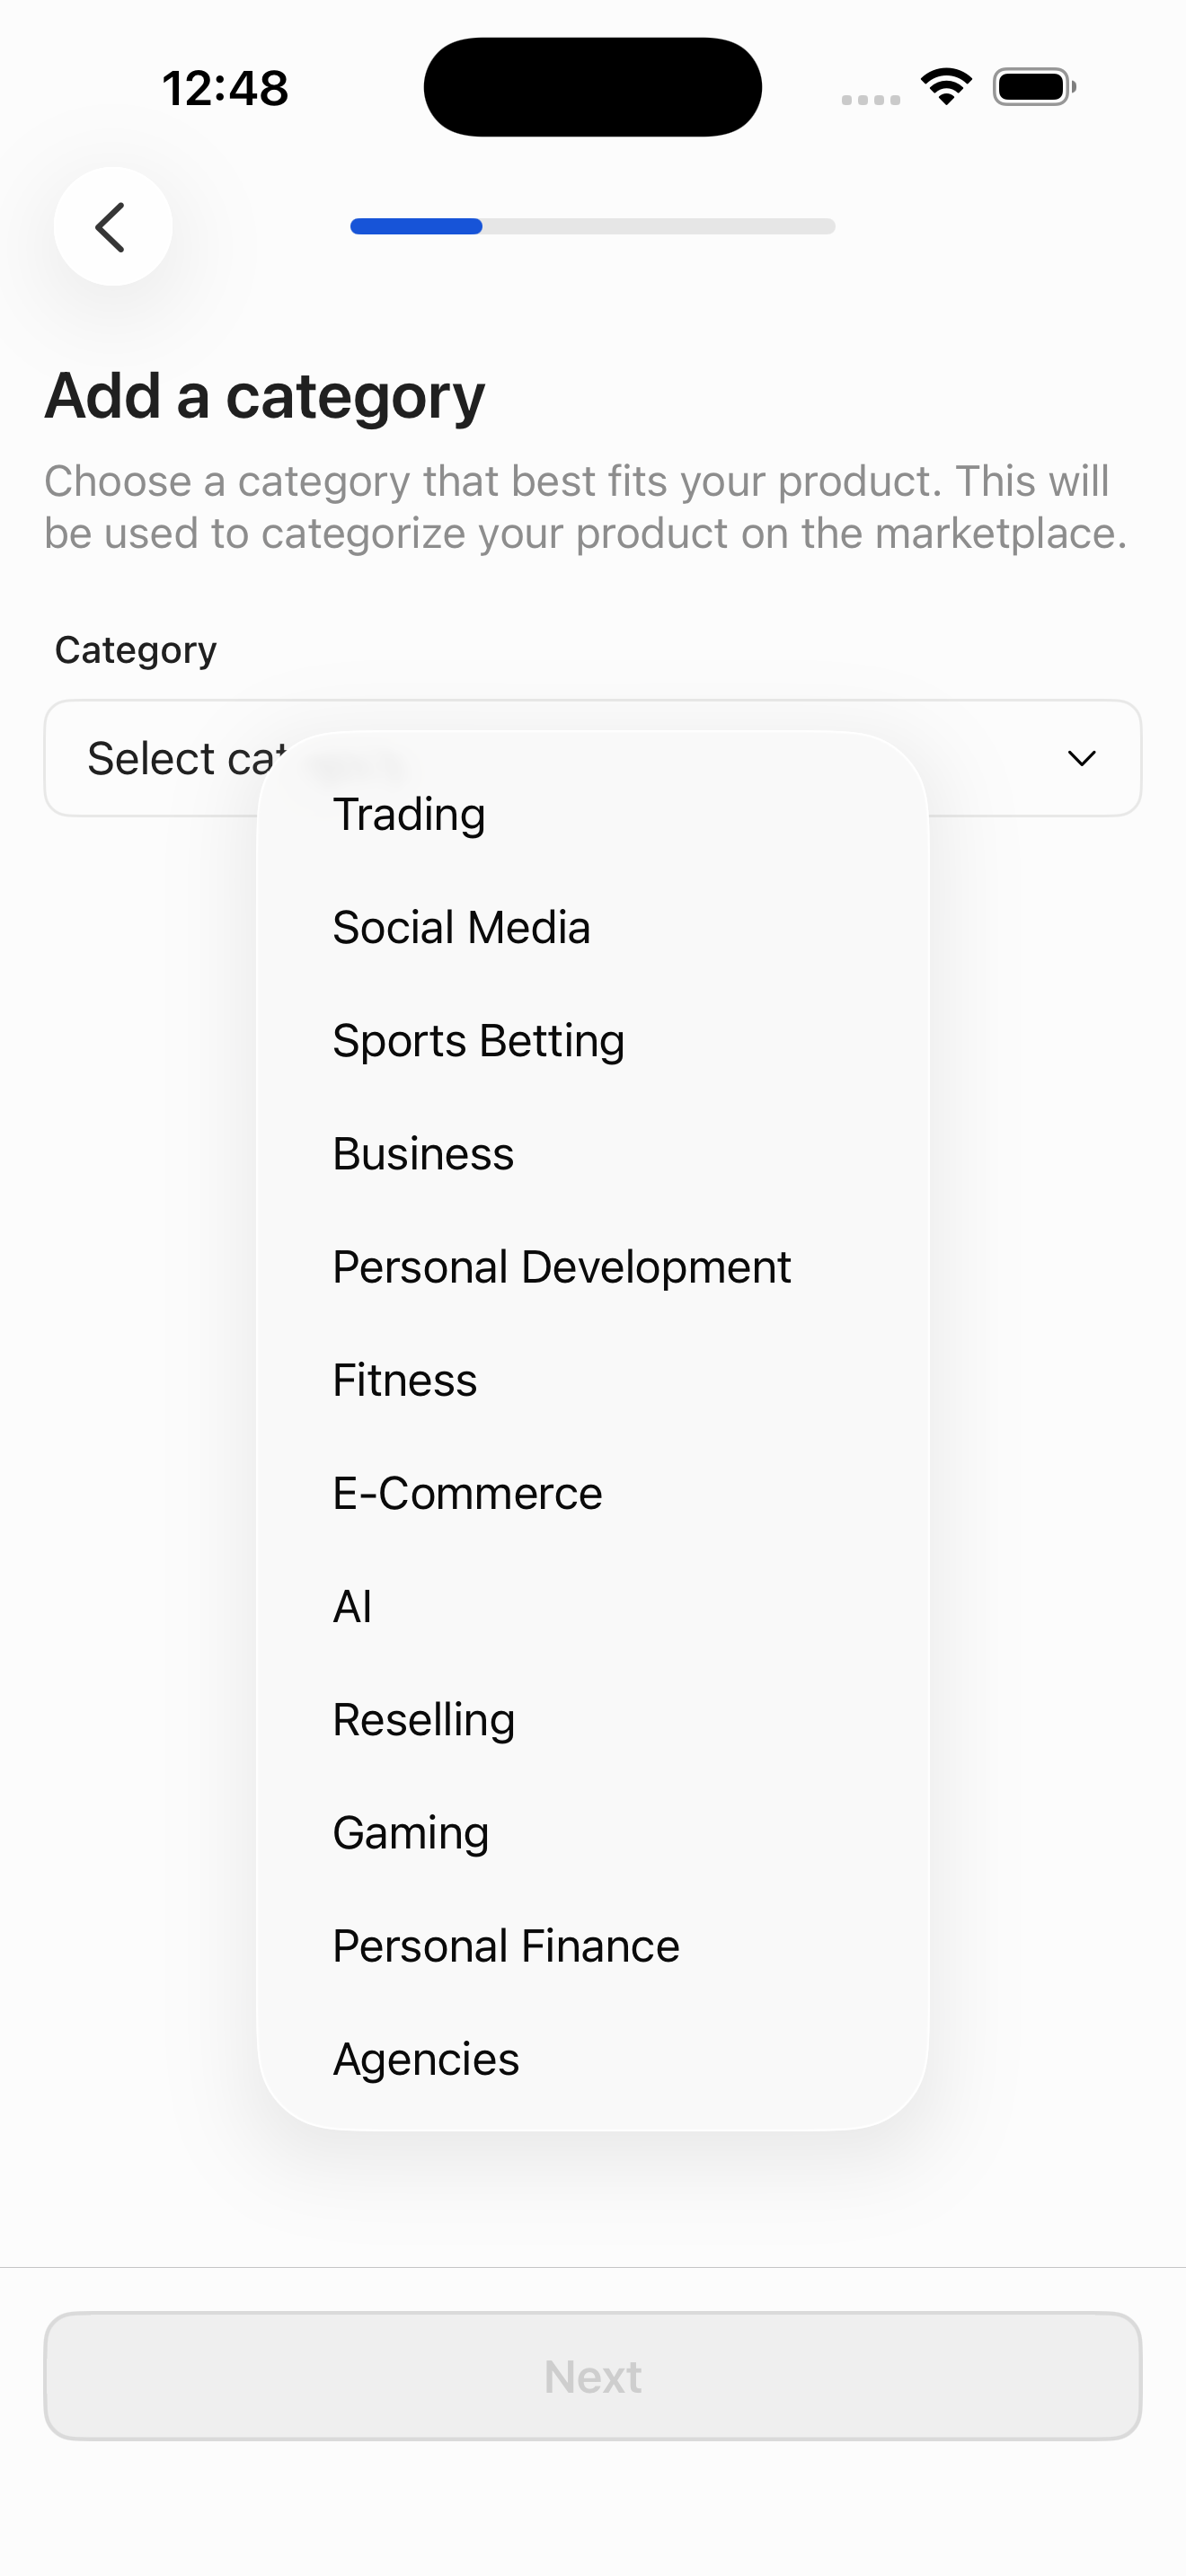
Step 2 in the Whop Create a whop and its first product flow. Atlas detected 19 UI elements on this screen.
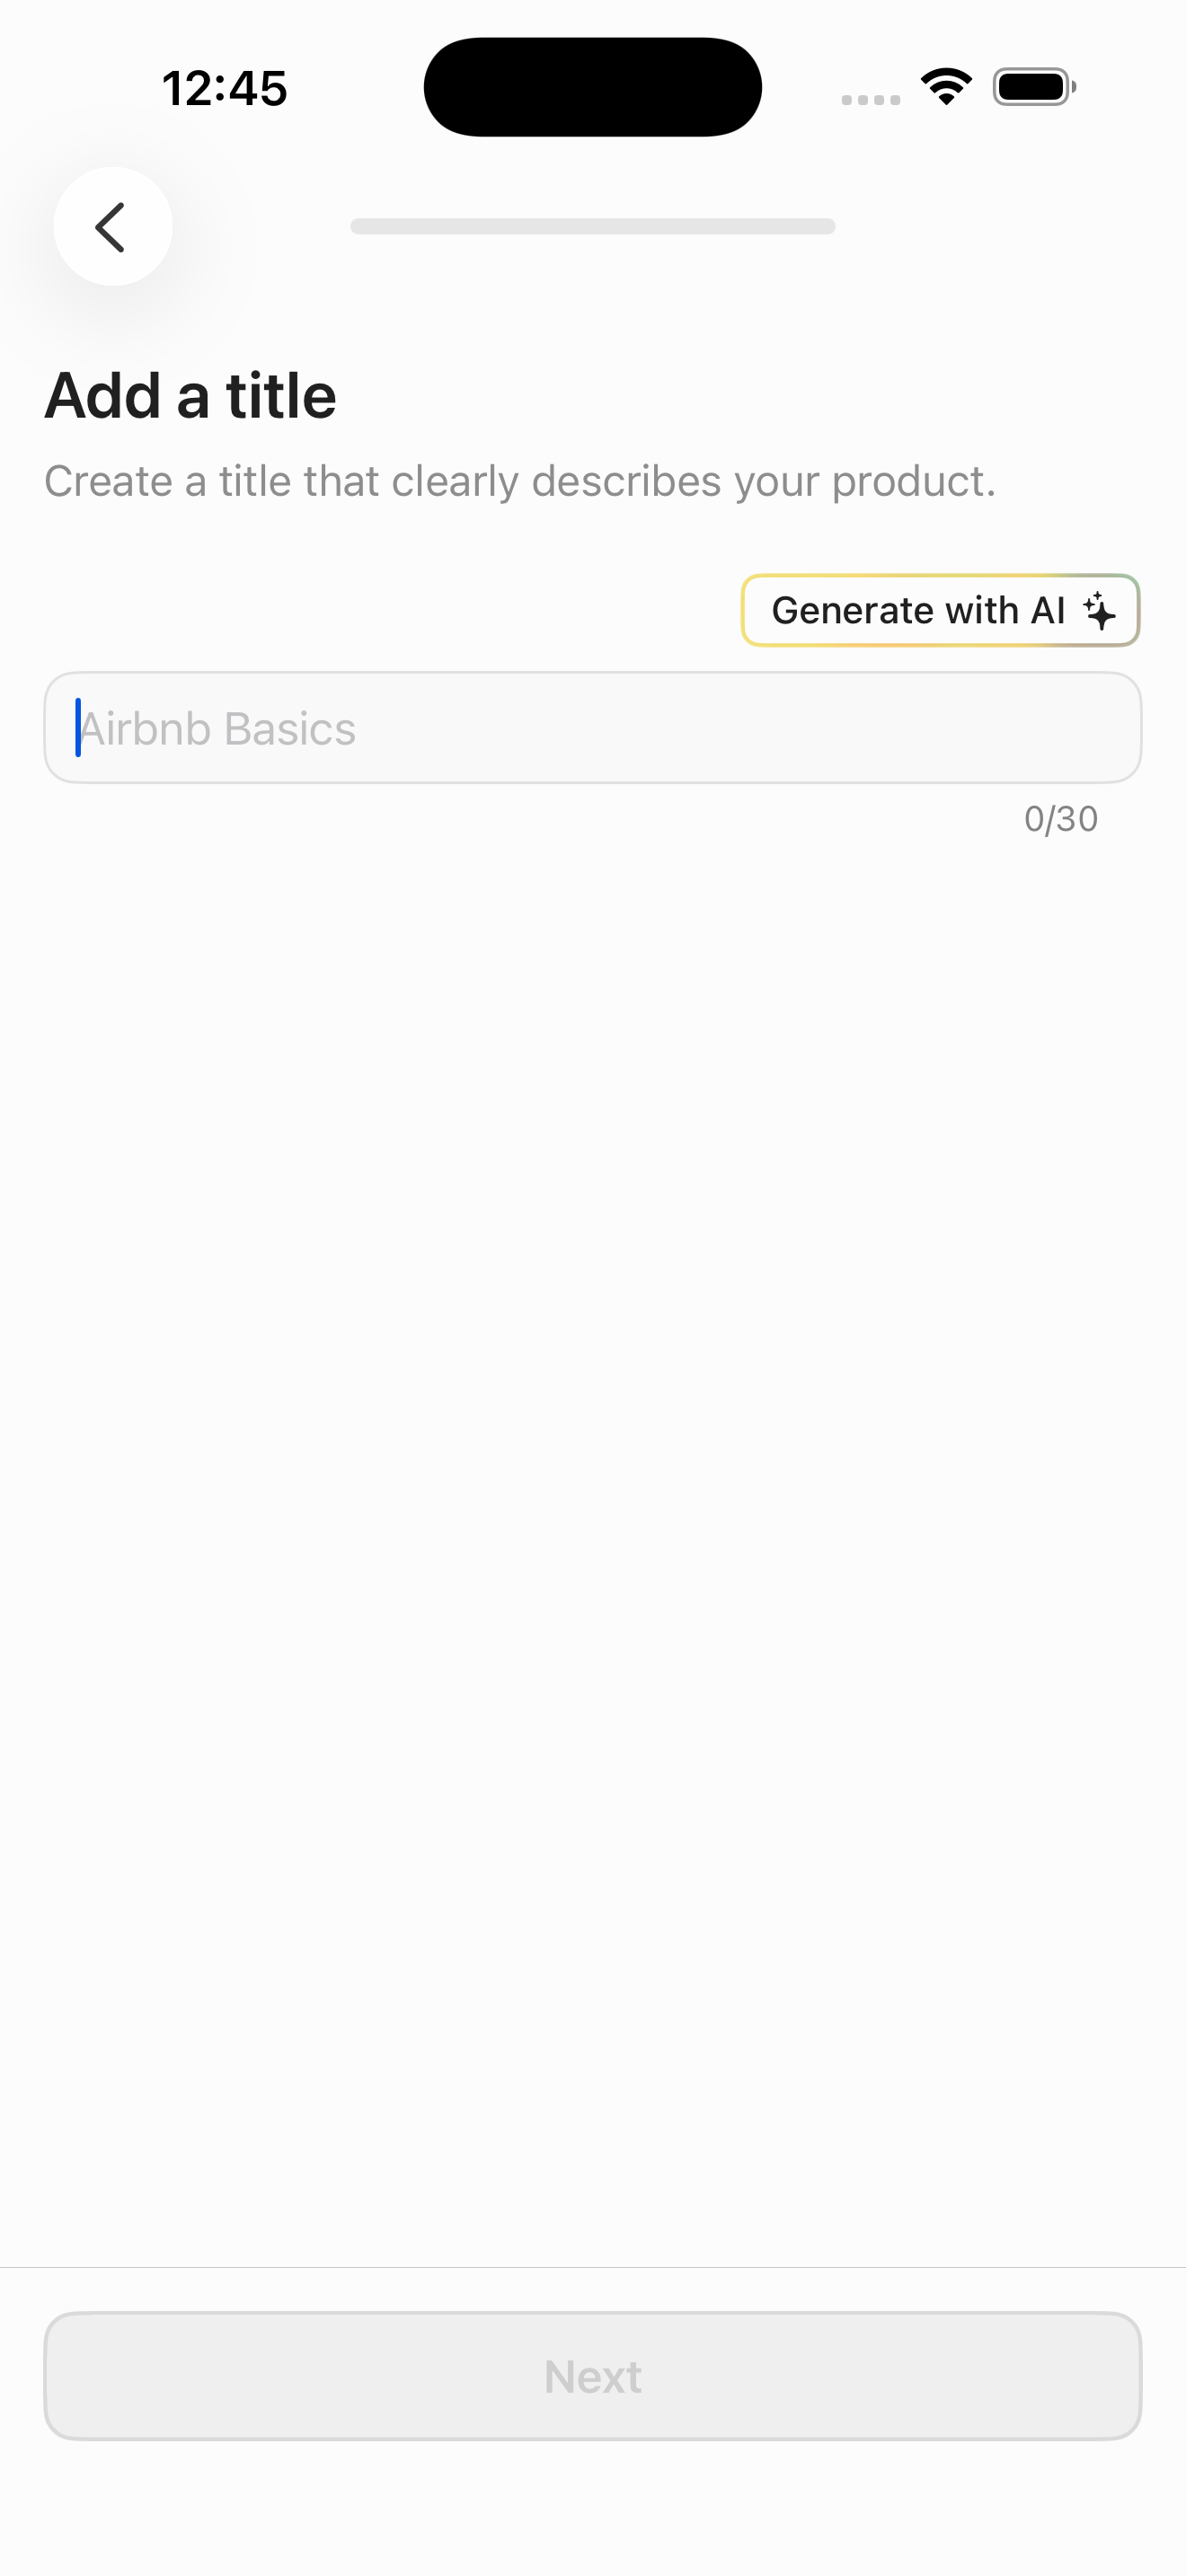
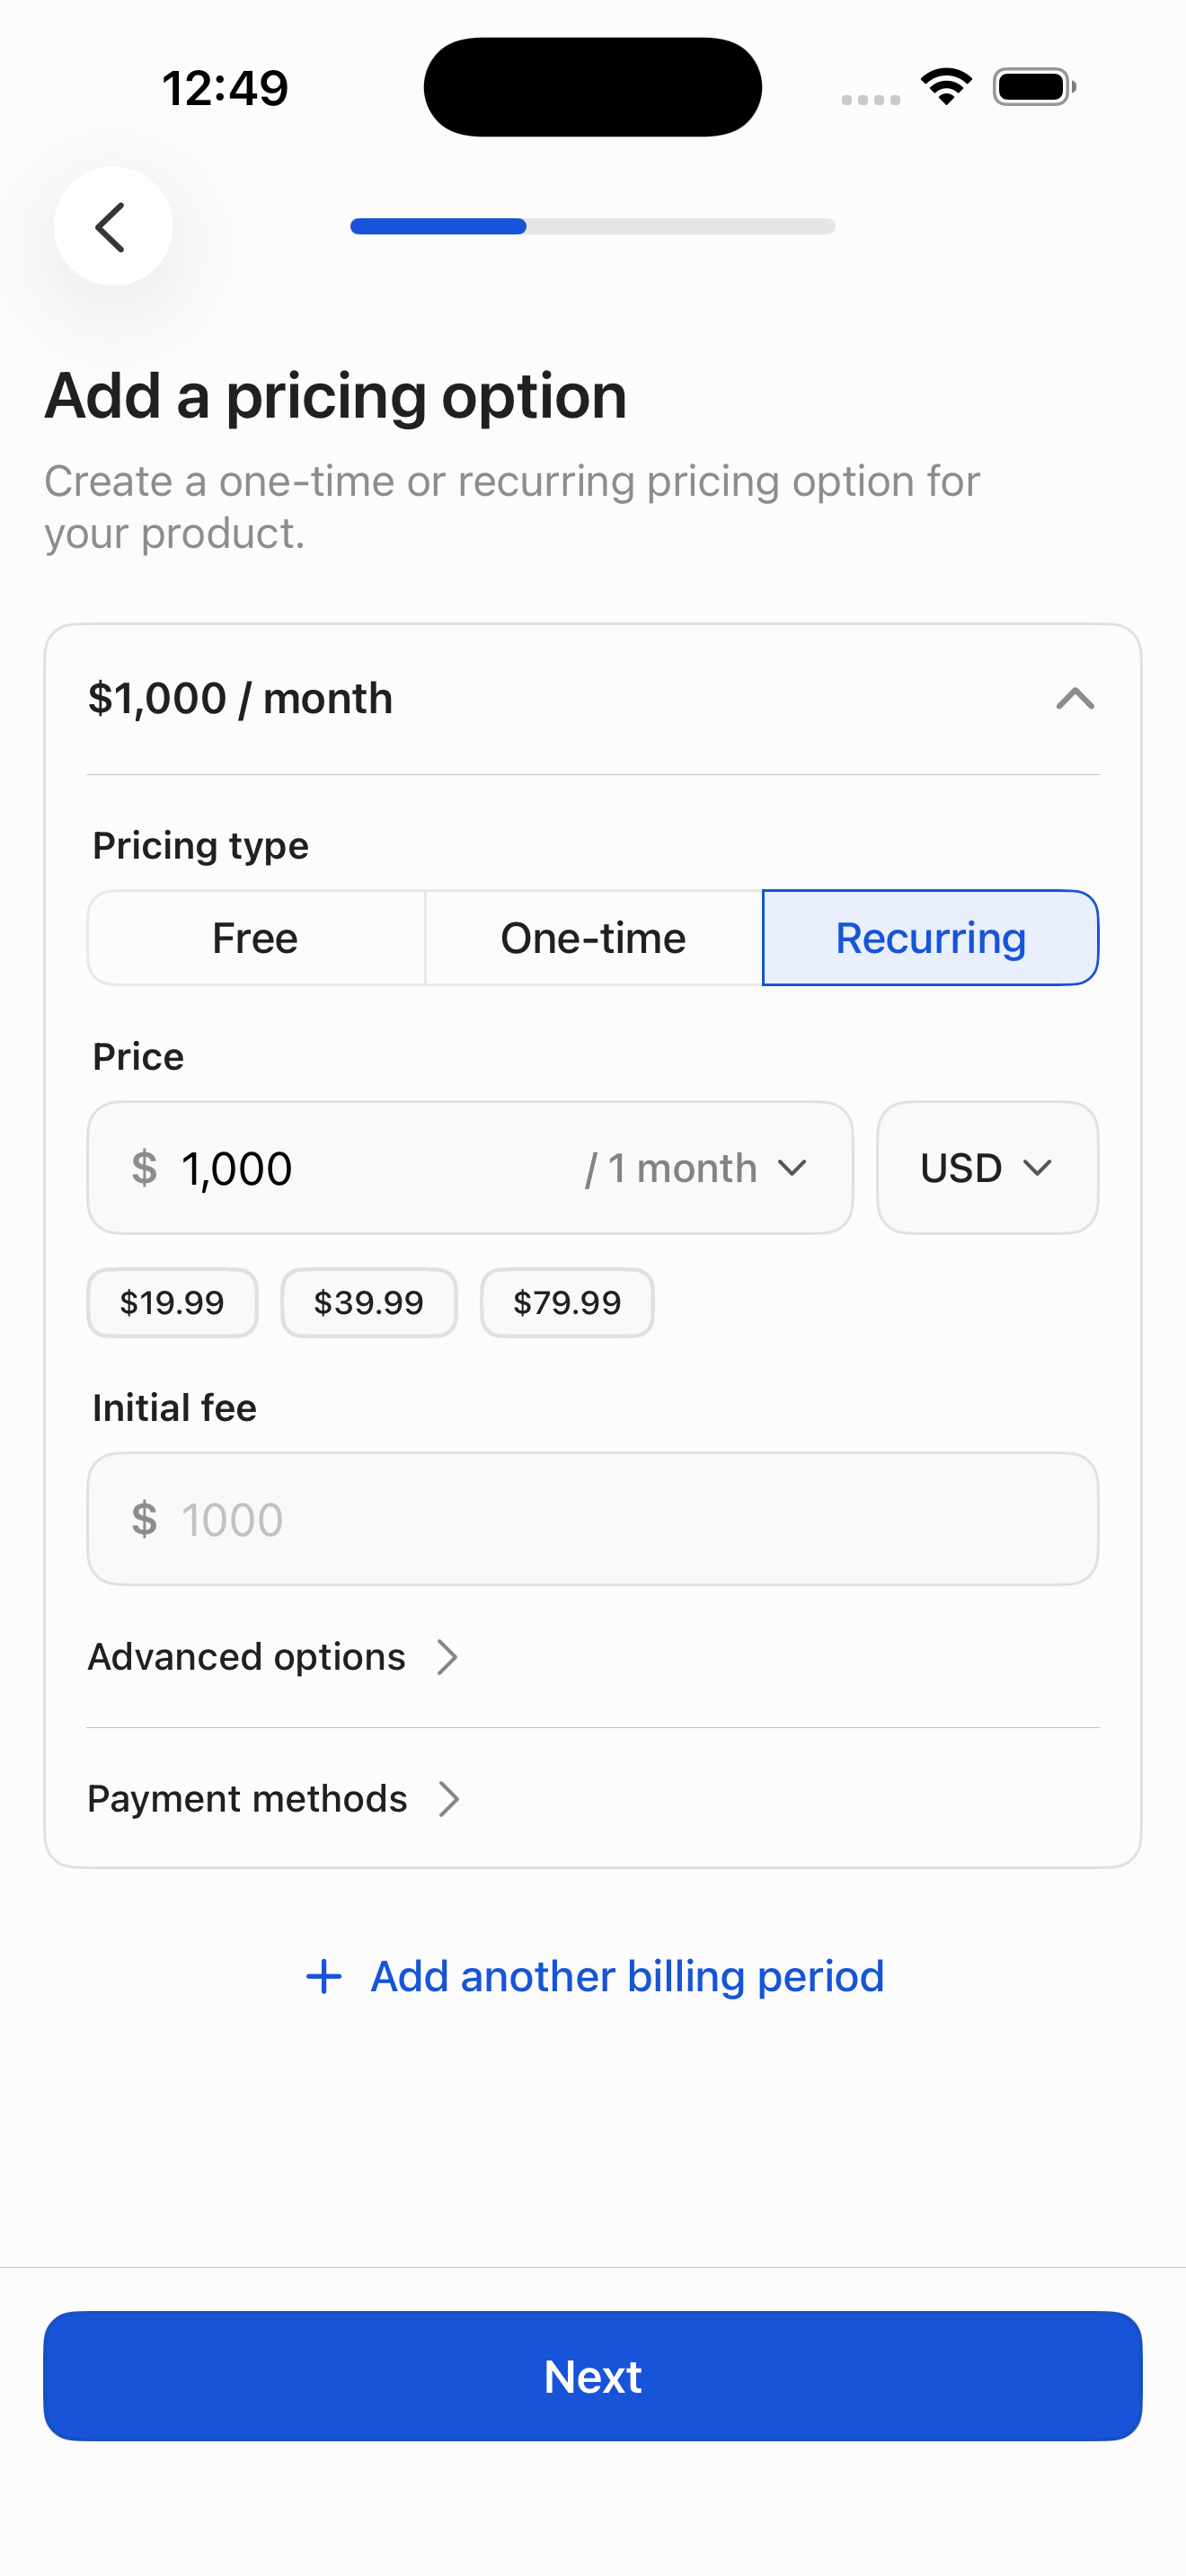
Step 3 in the Whop Create a whop and its first product flow. Atlas detected 11 UI elements on this screen.
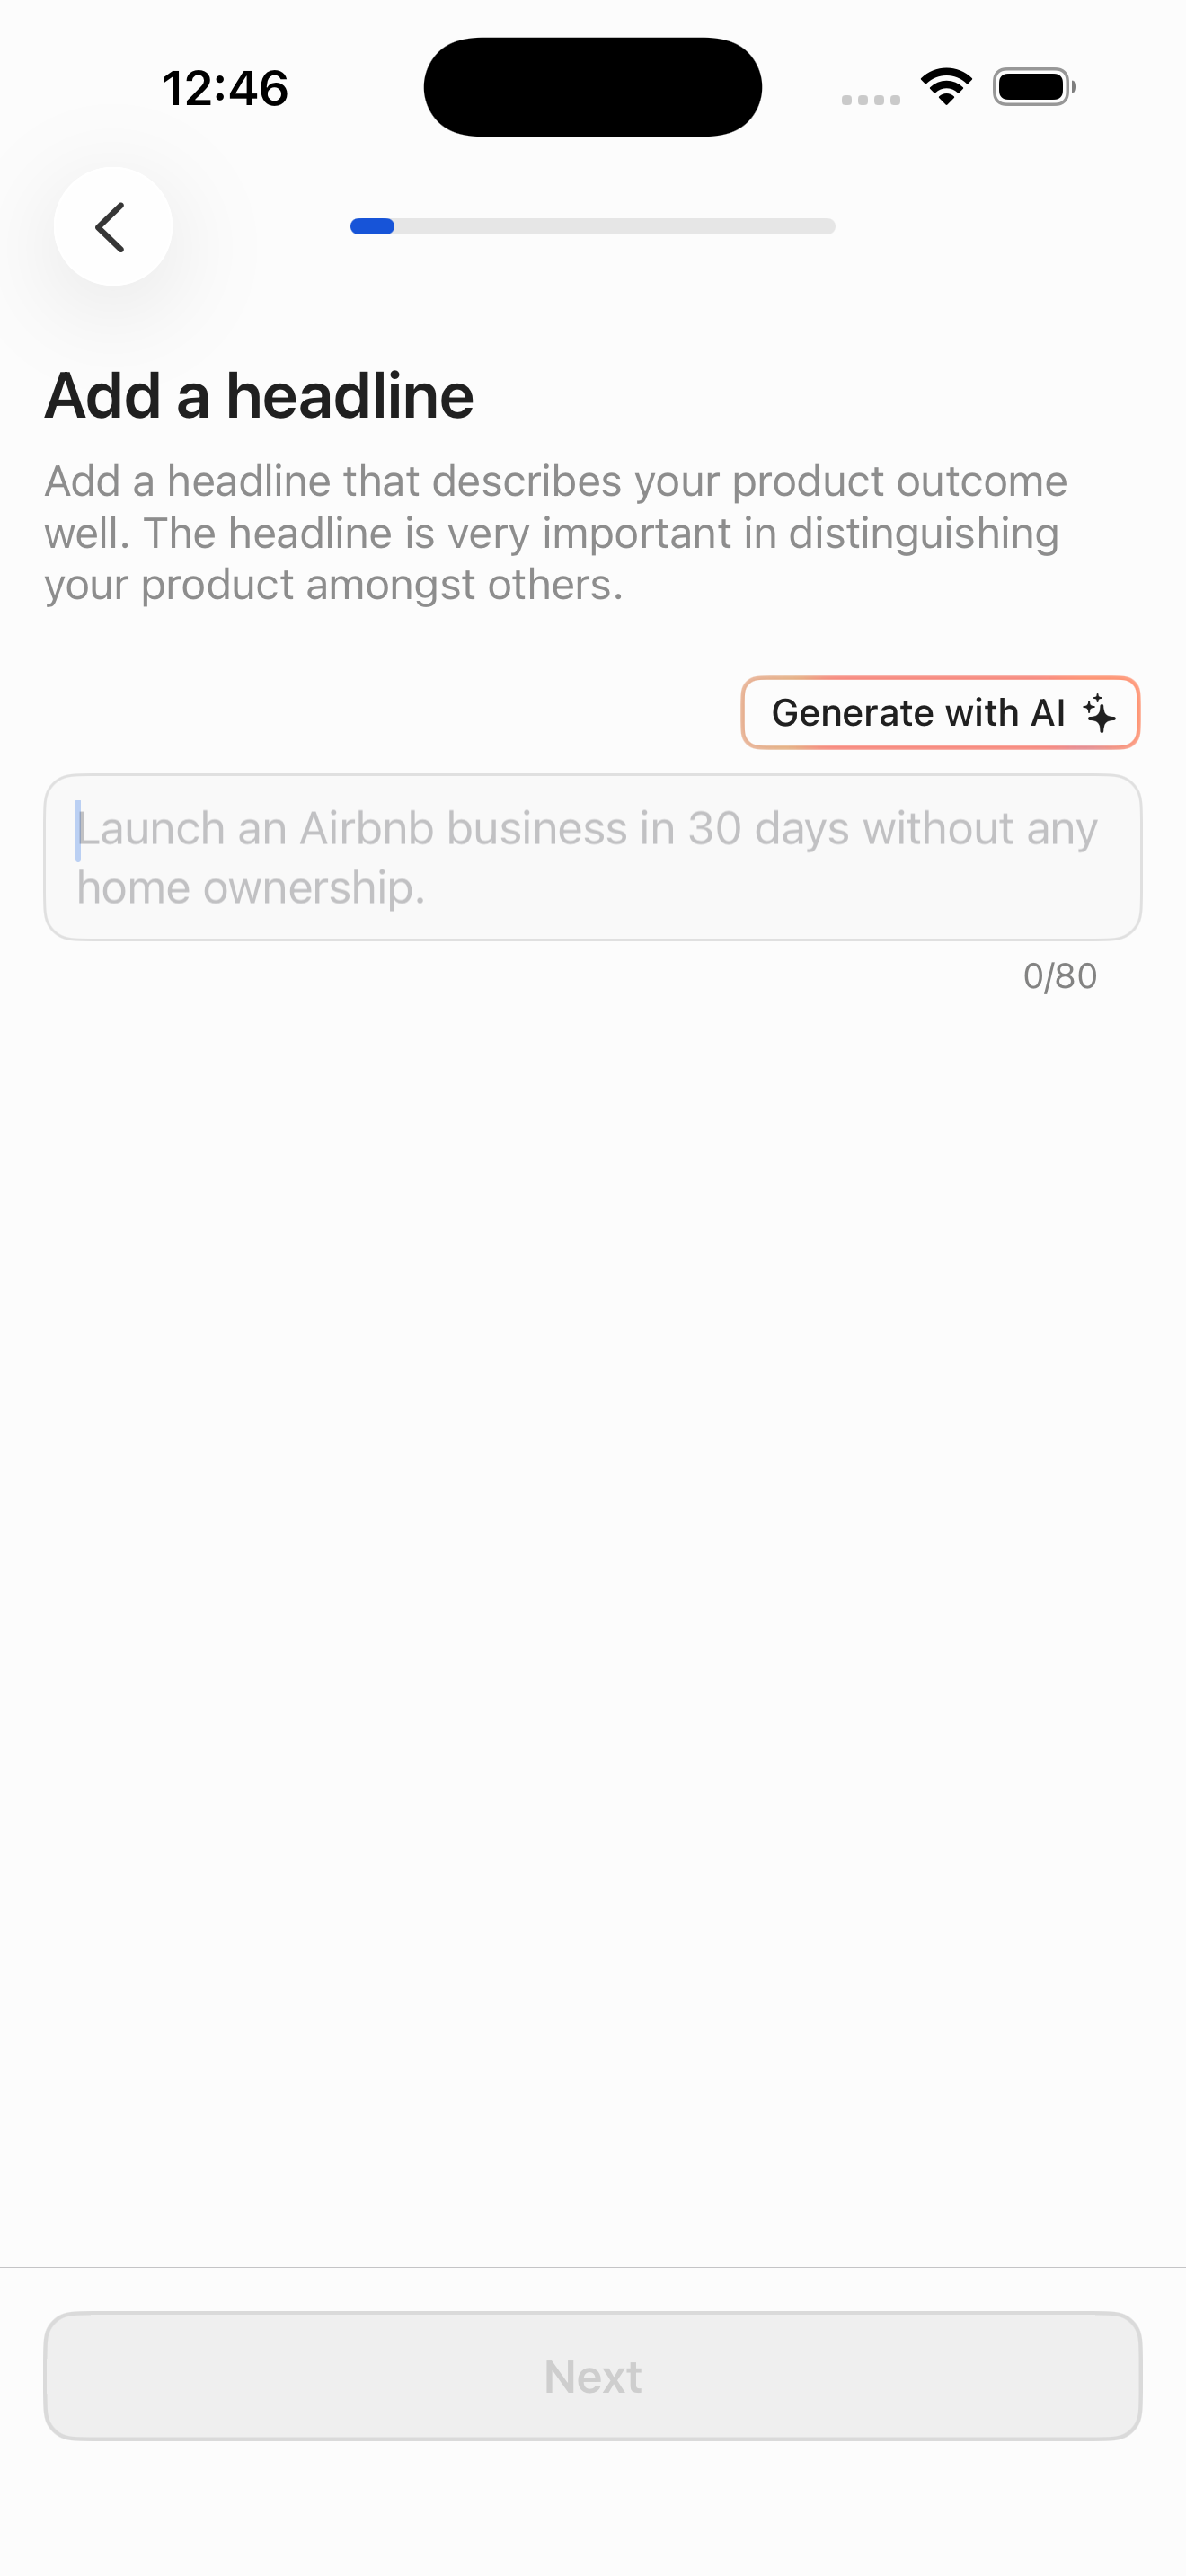
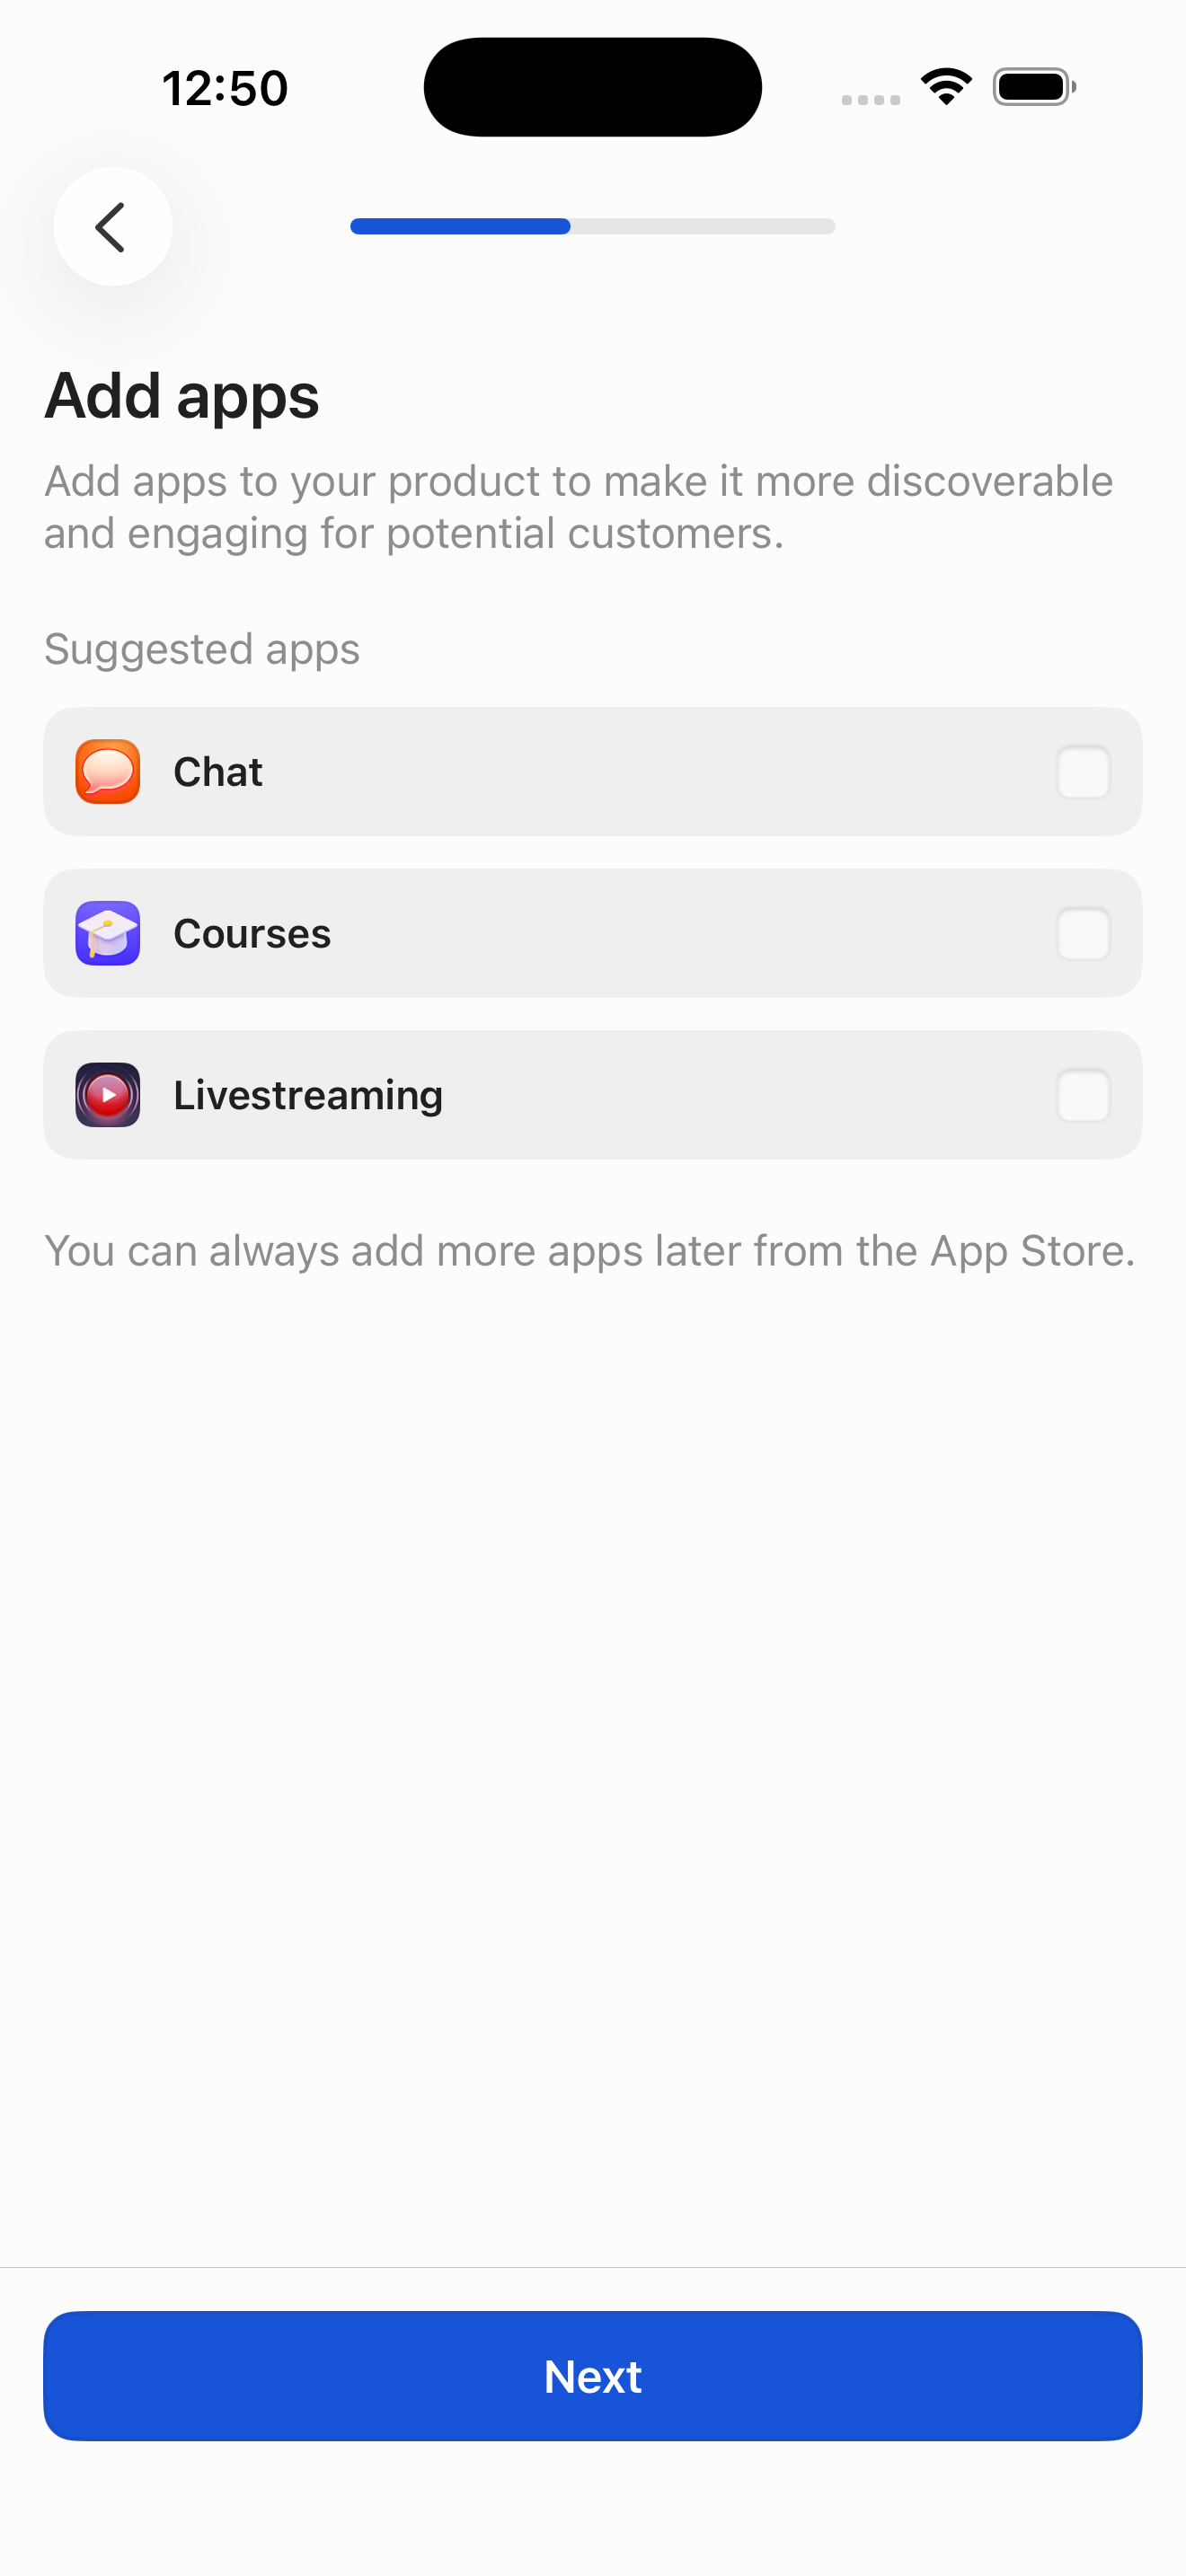
Step 4 in the Whop Create a whop and its first product flow. Atlas detected 12 UI elements on this screen.
Step 5 in the Whop Create a whop and its first product flow. Atlas detected 5 UI elements on this screen.
Step 6 in the Whop Create a whop and its first product flow. Atlas detected 2 UI elements on this screen.
Step 7 in the Whop Create a whop and its first product flow. Atlas detected 5 UI elements on this screen.
Step 8 in the Whop Create a whop and its first product flow. Atlas detected 5 UI elements on this screen.
Step 9 in the Whop Create a whop and its first product flow. Atlas detected 4 UI elements on this screen.
Step 10 in the Whop Create a whop and its first product flow. Atlas detected 3 UI elements on this screen.

Step 11 in the Whop Create a whop and its first product flow. Atlas detected 12 UI elements on this screen.
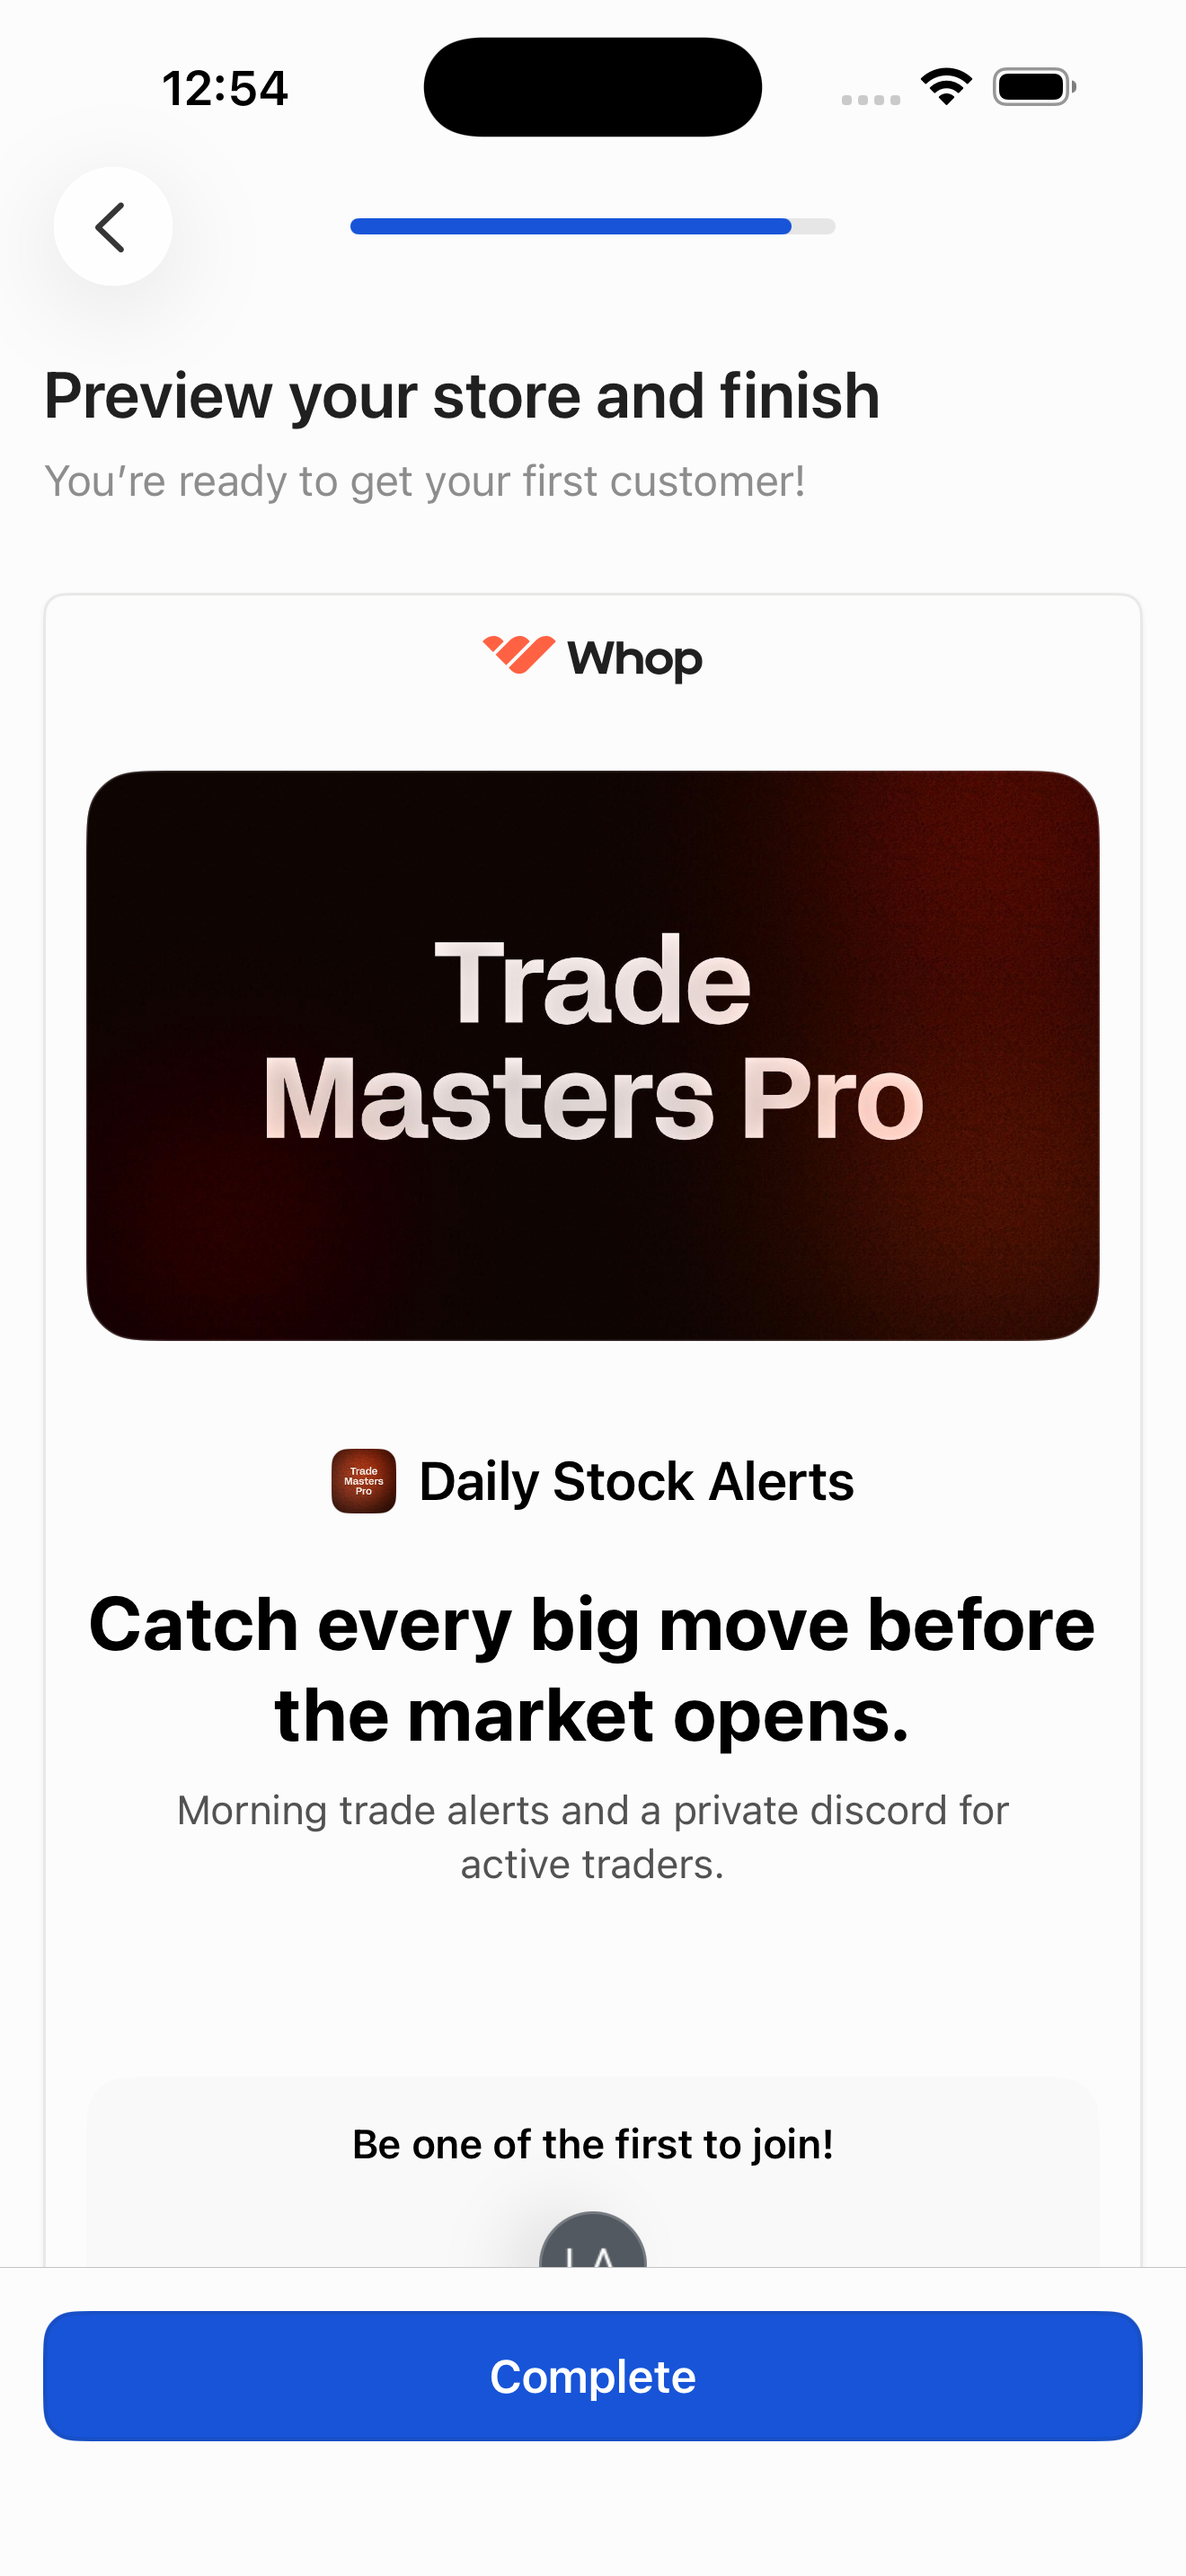
Step 12 in the Whop Create a whop and its first product flow. Atlas detected 16 UI elements on this screen.
Step 13 in the Whop Create a whop and its first product flow. Atlas detected 5 UI elements on this screen.
Step 14 in the Whop Create a whop and its first product flow. Atlas detected 3 UI elements on this screen.
Step 15 in the Whop Create a whop and its first product flow. Atlas detected 9 UI elements on this screen.
Step 16 in the Whop Create a whop and its first product flow. Atlas detected 3 UI elements on this screen.
Step 17 in the Whop Create a whop and its first product flow. Atlas detected 3 UI elements on this screen.
Step 18 in the Whop Create a whop and its first product flow. Atlas detected 4 UI elements on this screen.
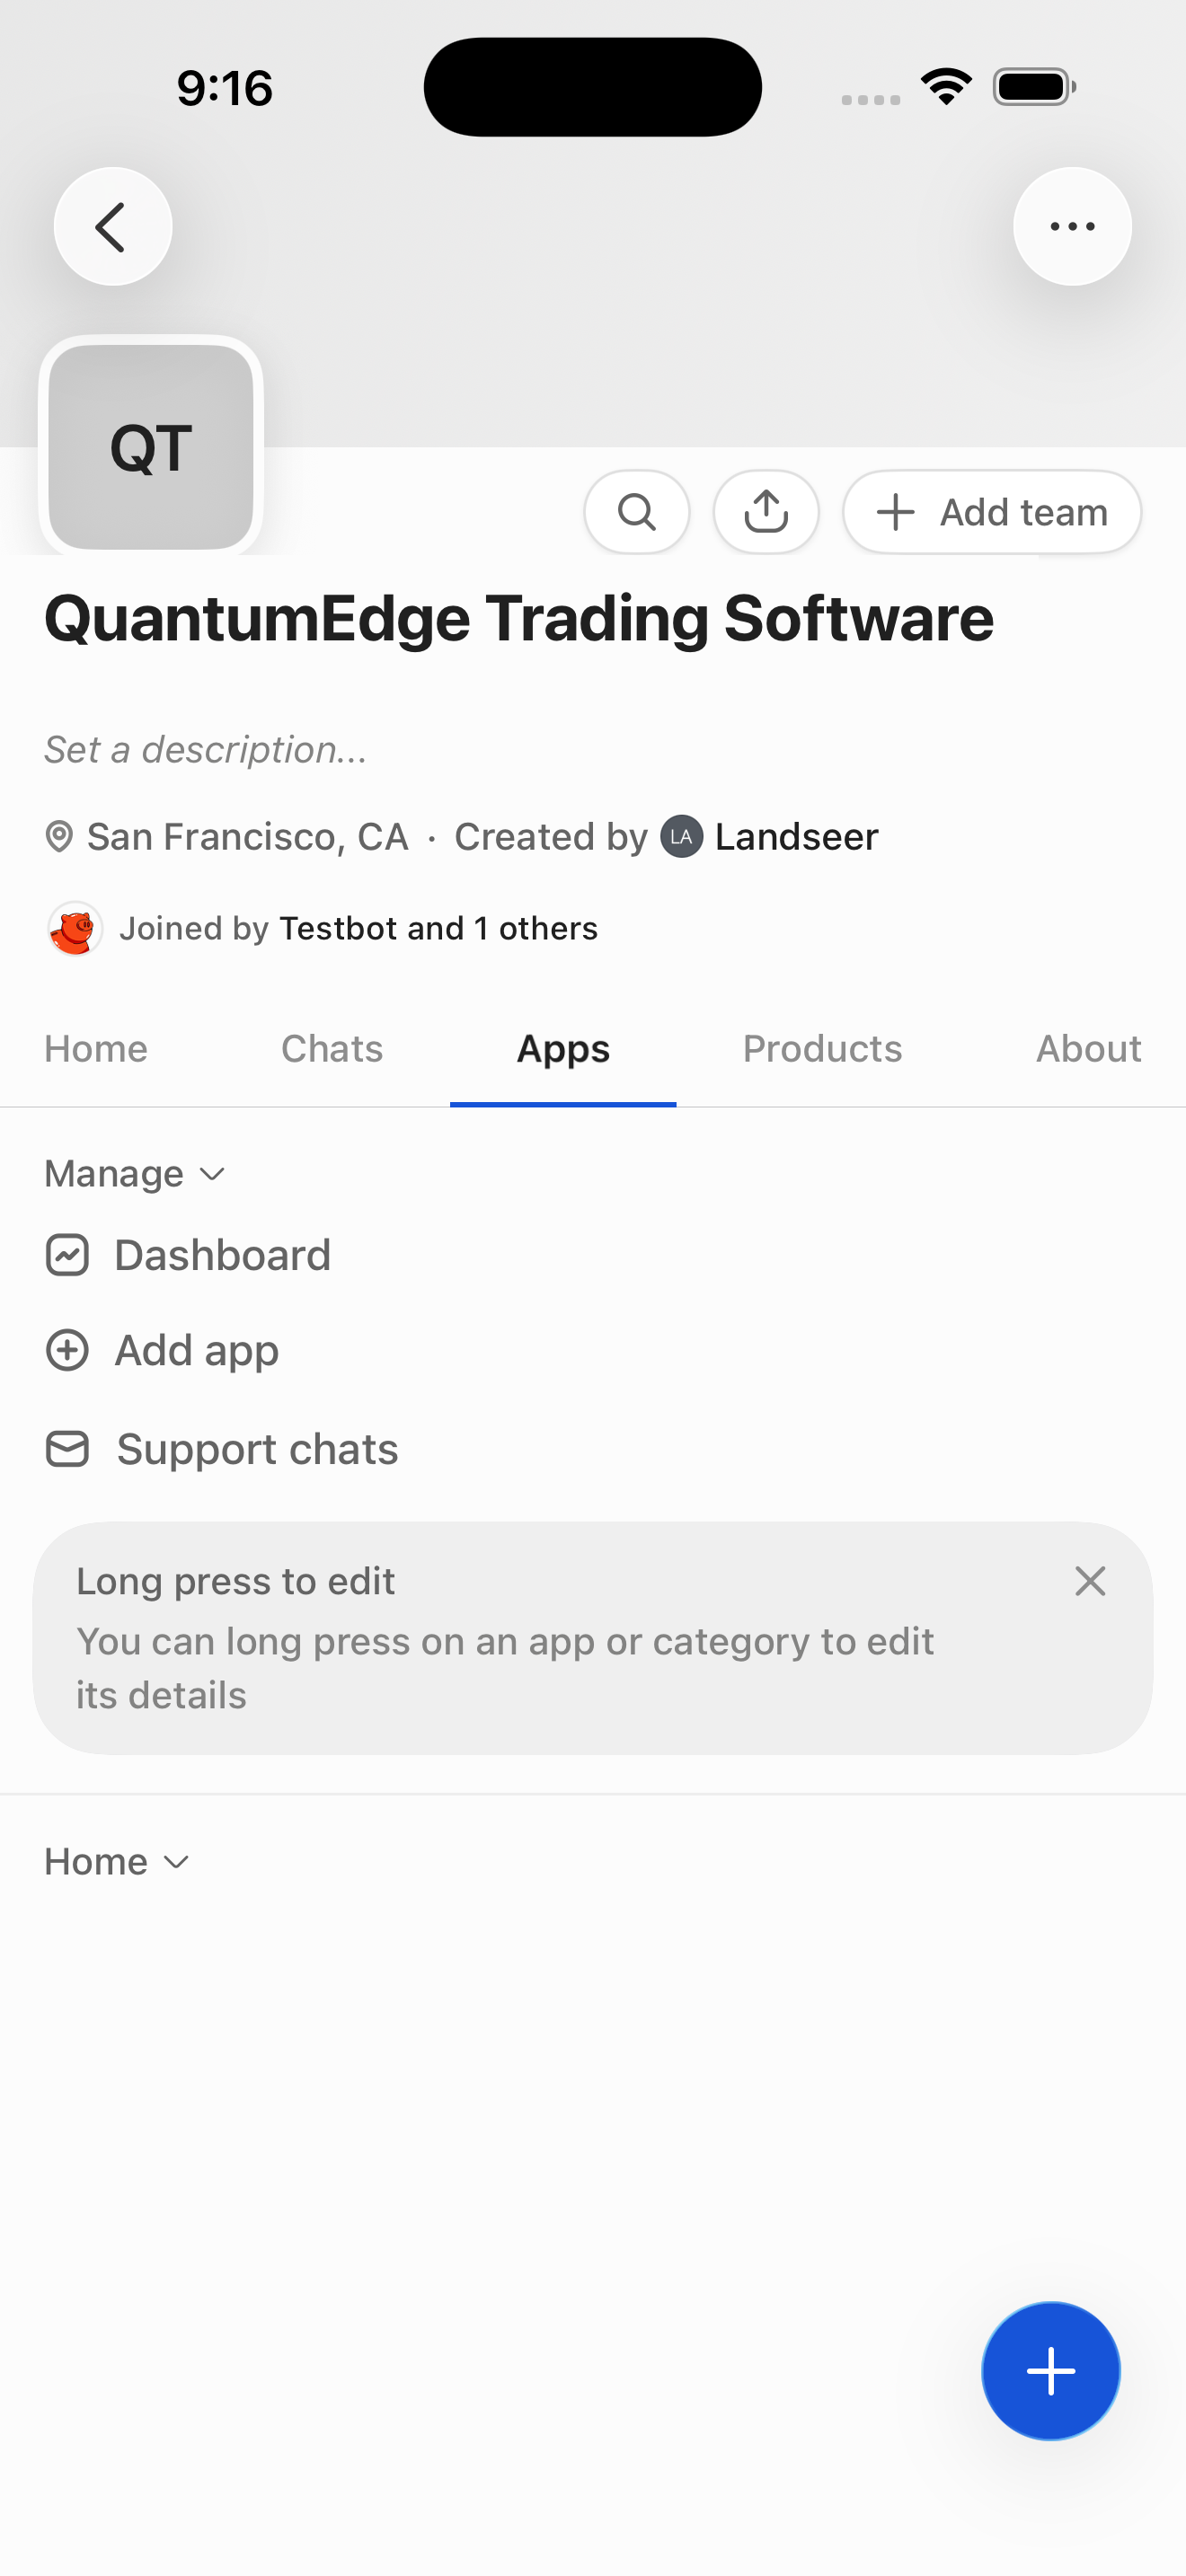
Step 19 in the Whop Create a whop and its first product flow. Atlas detected 10 UI elements on this screen.
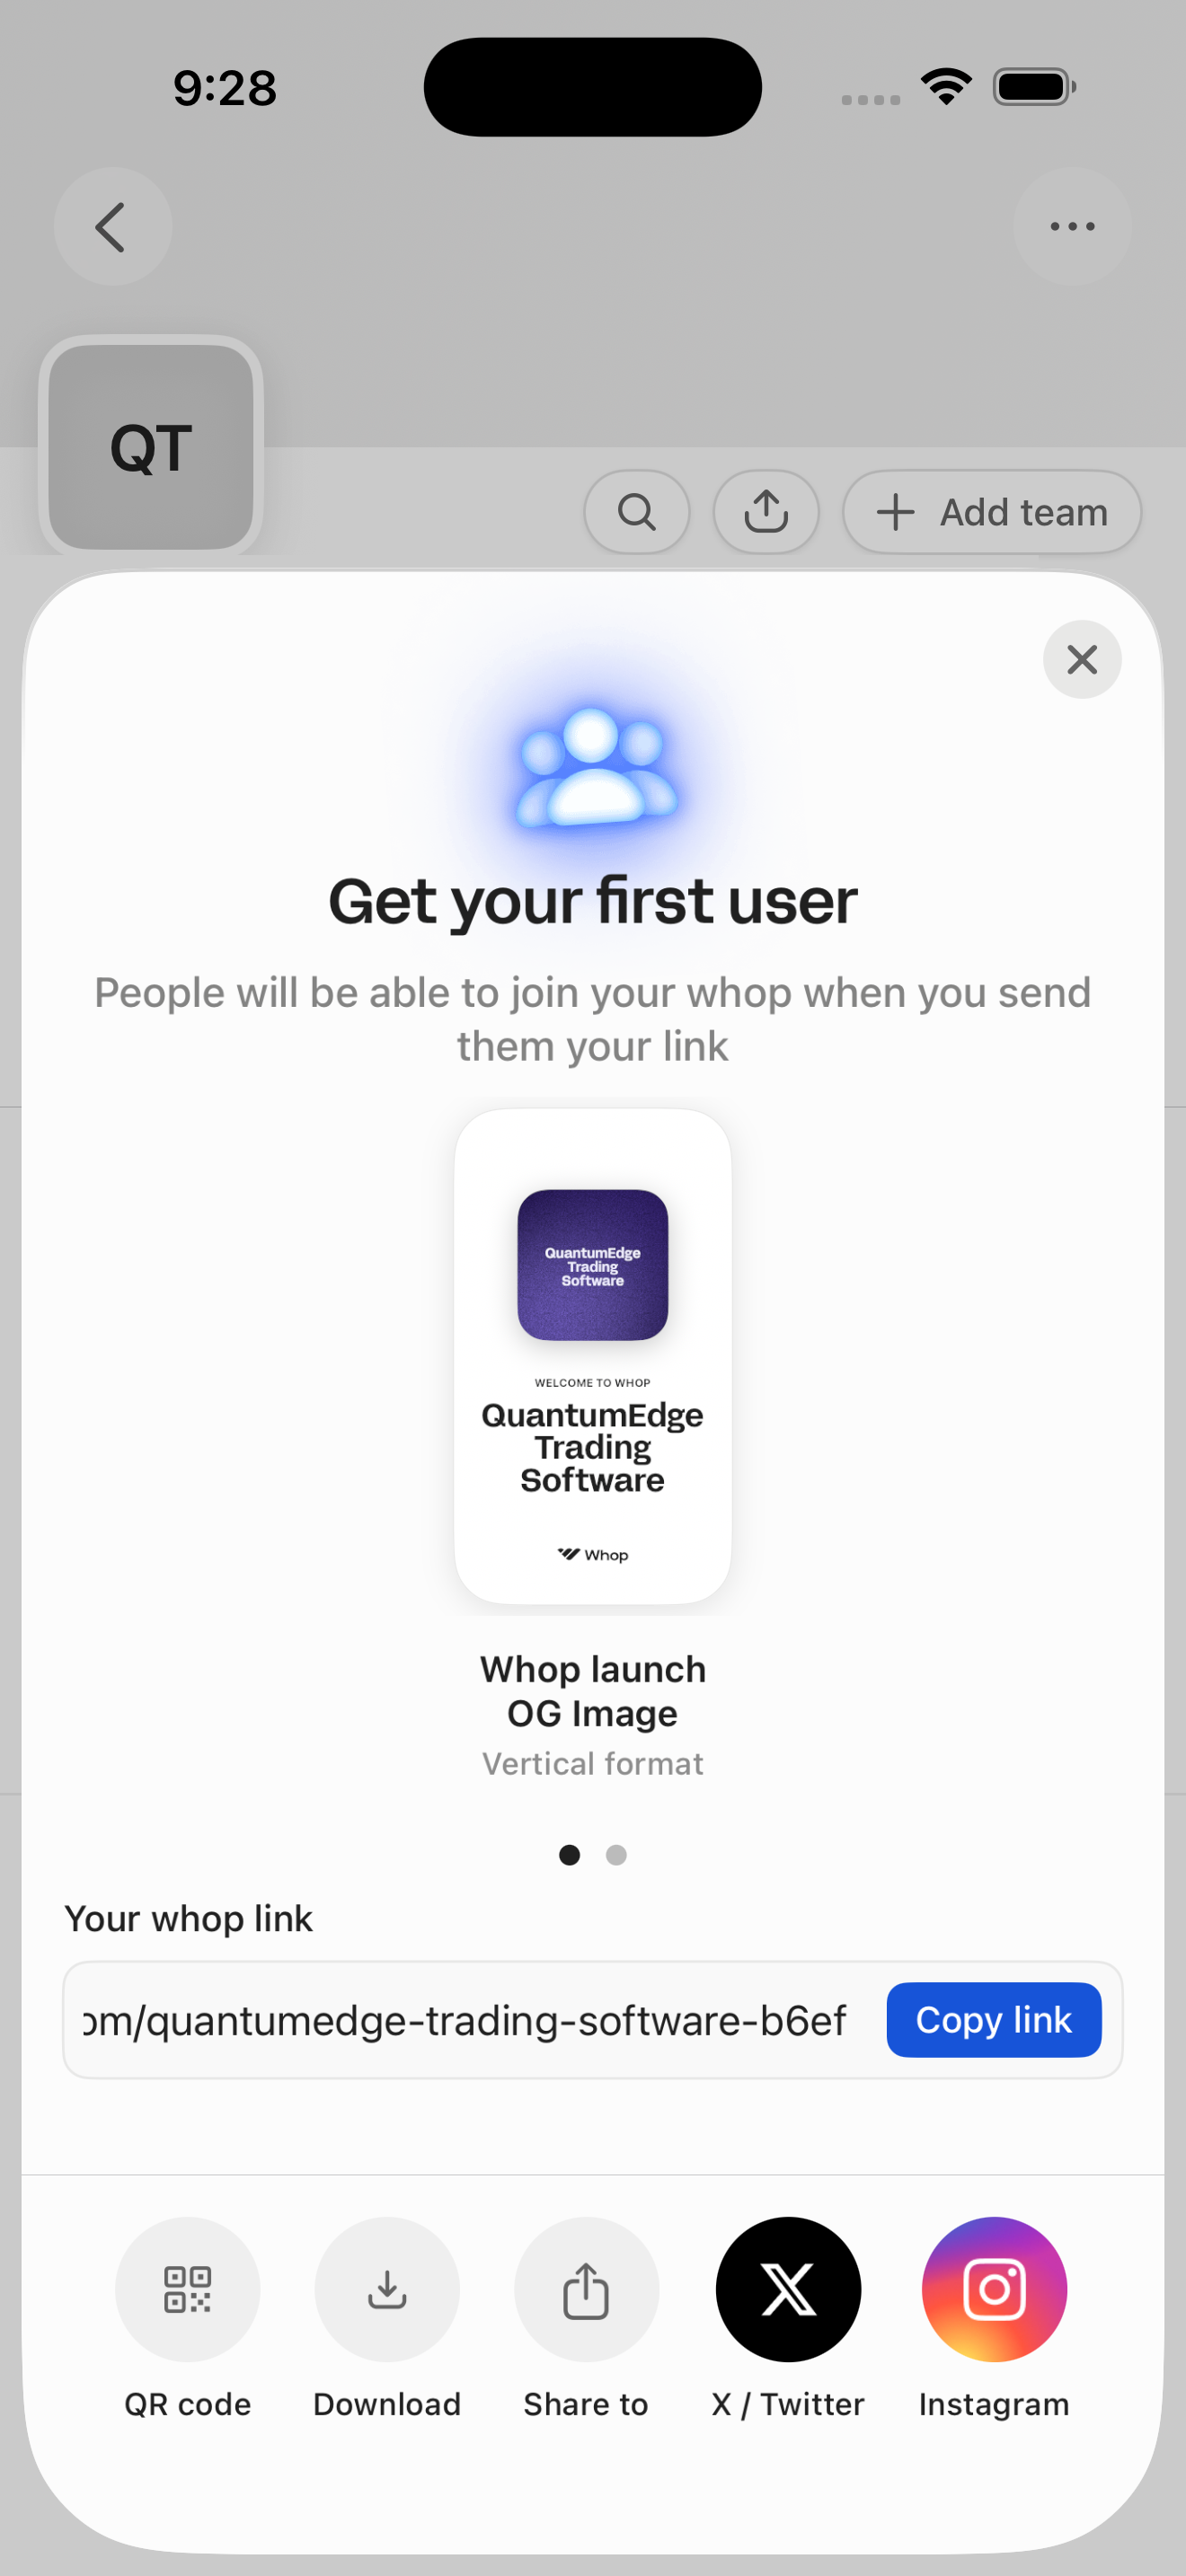
Step 20 in the Whop Create a whop and its first product flow. Atlas detected 19 UI elements on this screen.
How to use it
Related flows